
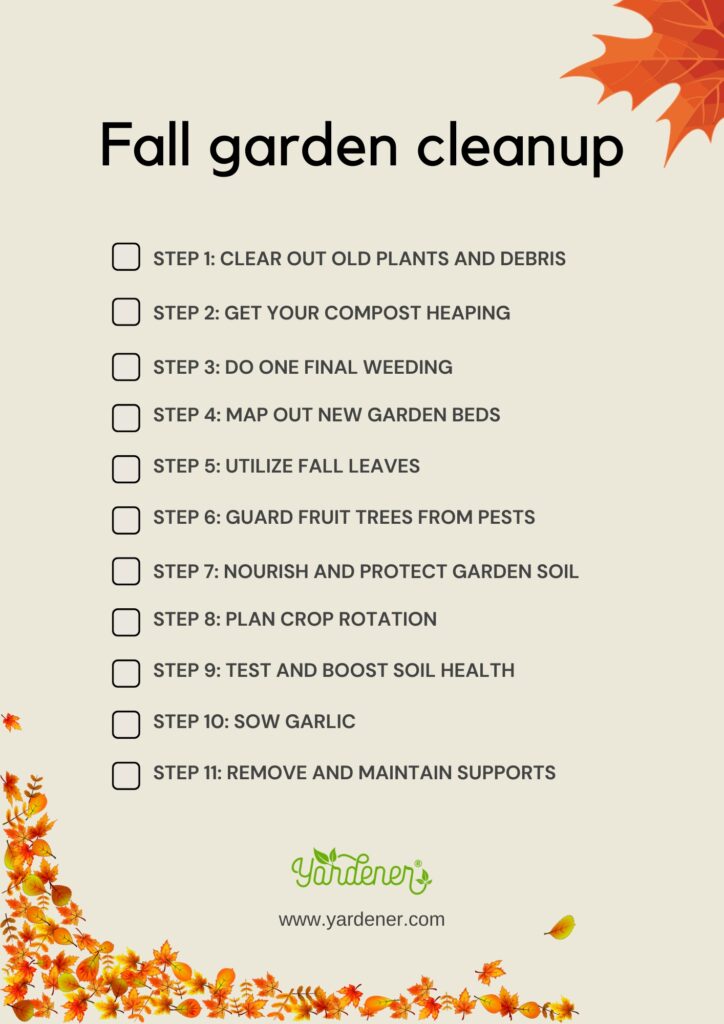
Welcome to our comprehensive guide to fall garden cleanup! As the weather turns colder and summer plants begin to fade, it's time to prepare your garden for the winter months. By following these gardening tips, you'll ensure a healthy and vibrant garden come springtime. From removing spent plants to replenishing the soil, we'll cover all the essential steps for putting your beds to bed. So grab your gardening tools and let's get started!
Step 1: Clear Out Old Plants and Debris
The first step in fall garden cleanup is removing any spent plants and debris. By eliminating diseased plants and dead foliage, you'll prevent the spread of diseases and pests. Chop beans and peas off at ground level, leaving their nitrogen-fixing roots in the soil to nourish next year's crops. Remember to dispose of any diseased plants in the trash, rather than adding them to your compost pile. This will help maintain the health of your garden.
Step 2: Get Your Compost Heaping
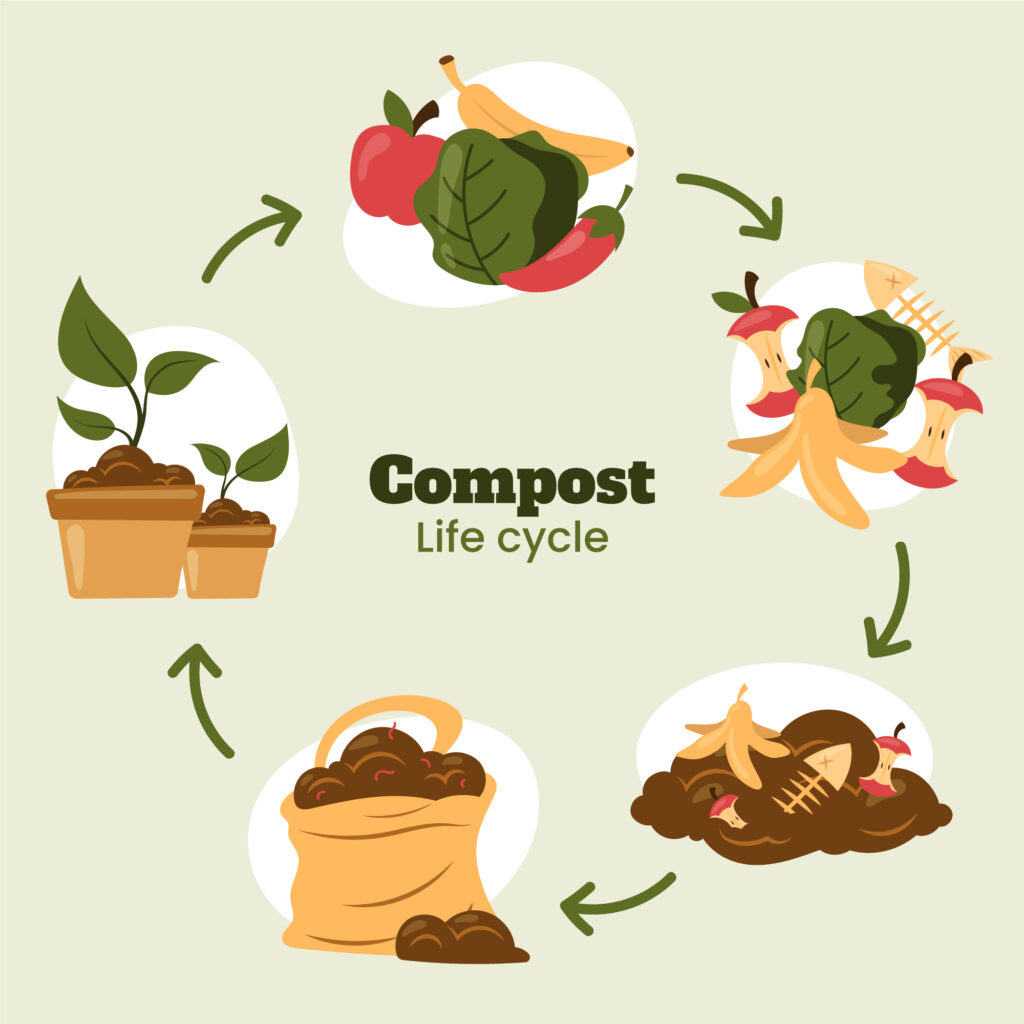
Composting is a great way to recycle organic waste and enrich your garden soil. Break up the material into smaller pieces and start or add to a compost pile. Compost everything except for diseased plants or those infested with bugs. Bag them up or remove them from your property to prevent the spread of diseases and insects. With time, your compost will transform into nutrient-rich organic matter that can be added back to your garden.
Step 3: Do One Final Weeding
Late summer and autumn are crucial times for weeding. Even a single weed left to mature can produce hundreds or thousands of seeds, causing a weed problem in the following year. Before calling it quits, take the time to weed your garden beds thoroughly. Pay special attention to weeds such as crabgrass and thistle, which develop seed heads during the late summer and fall. Watering your garden a few hours before weeding can help loosen the soil and make the task easier.
Step 4: Map Out New Garden Beds
Fall is an excellent time to create new planting beds without the need for extensive digging. Set your mower to the lowest setting and scalp the grass in the desired area. Cover the exposed soil with a thick layer of newspapers, followed by a layer of compost and chopped leaves. This technique, known as lasagna gardening, will create a nutrient-rich planting bed come springtime. The decomposing materials will attract earthworms and improve the overall fertility of the soil.
Step 5: Utilize Fall Leaves
Don't let those fall leaves go to waste! They can serve as a natural mulch for your garden and provide valuable nutrition to the soil. Rake the leaves onto your lawn, run over them multiple times with a lawn mower, and then distribute them back into your perennial and shrub beds. This will act as an effective fall and winter mulch. Additionally, leaving a few piles of leaves in secluded areas can provide shelter for overwintering pollinators, beneficial insects, and wildlife.
Step 6: Guard Fruit Trees from Pests
As you clean up your garden, take the opportunity to mow around fruit trees one last time. This will discourage mice or voles from nesting in the area. To further protect your fruit trees, install rodent guards made of fine mesh hardware cloth around their base. This will prevent mice and voles from gnawing on the bark and potentially killing the trees over the winter. Tree wrap material can also be useful in deterring pests.
Step 7: Nourish and Protect Garden Soil
Fall is the ideal time to replenish your garden soil with essential nutrients. Add compost, rotted manure, or organic matter to the top 4 to 6 inches of your beds. This will provide ample time for the microorganisms to break down the organic material throughout the winter. By spring, your soil will be ready for planting without the need for excessive tilling during wet weather. Alternatively, consider planting cover crops to enrich the soil over winter.
Step 8: Plan Crop Rotation
Crop rotation is a vital practice in maintaining soil health and preventing the buildup of pests and diseases. Take note of what plants were grown in each area of your vegetable garden and avoid planting the same family of plants in the same spot year after year. This will help break the cycle of specific pests and diseases, as well as ensure a more balanced nutrient uptake from the soil. Plan your next year's planting based on the principles of crop rotation.
Step 9: Test and Boost Soil Health
Testing your soil is an essential step in understanding its nutrient content and pH level. By taking a representative soil sample from various beds in your garden, you can obtain accurate results. Contact your local Cooperative Extension for free or low-cost soil testing, or purchase a test kit from a garden center. Armed with the recommendations from the test, you can apply the right amendments to improve your soil's fertility. This will ensure optimal plant growth in the upcoming seasons.
Step 10: Sow Garlic
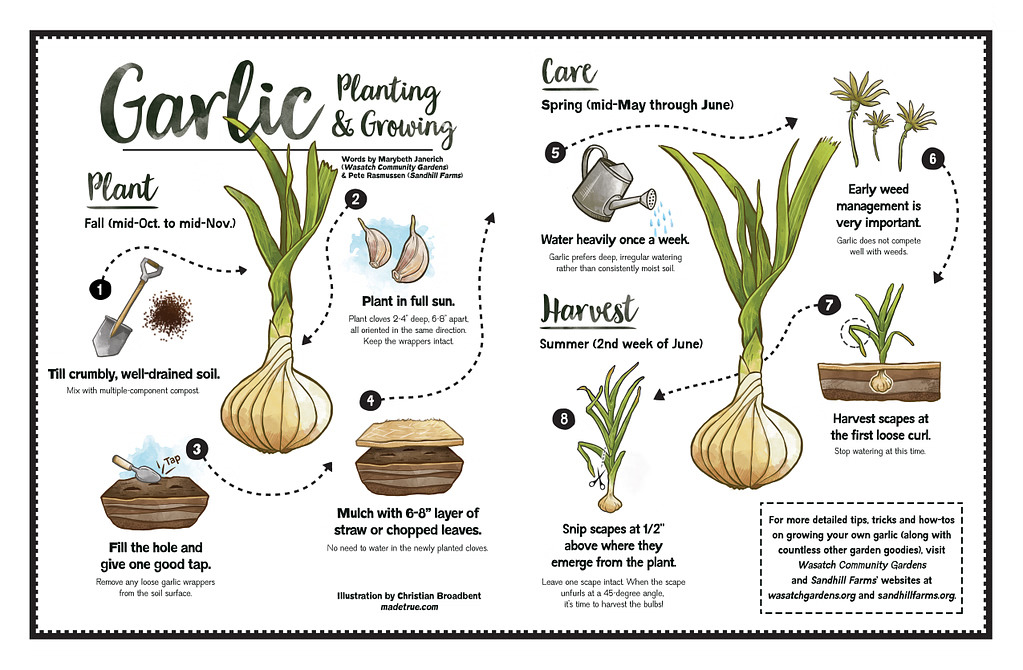
October and November are the best months to plant garlic in preparation for a bountiful harvest. Choose a time when the temperatures have dropped significantly but before the ground freezes. Planting garlic too early may result in tender shoots emerging prematurely while planting it too late can make the ground too frozen to dig. Garlic requires cold temperatures to develop large bulbs. Follow our detailed guide on planting garlic in the fall for a successful crop.
You can learn more about garlic on our website.
Image credit: Christian Broadbent // madetrue.com
Step 11: Remove and Maintain Supports
To prolong the lifespan of your garden supports and prevent the spread of diseases, it's essential to clean and maintain them regularly. Remove all supports such as tomato cages, bean stakes, and cucumber trellises. Wash off any soil with soapy water and spray them with a diluted bleach solution to kill any lingering pathogens. Once dry, store them in a shed or garage to protect them from winter elements. This will ensure their readiness for the next growing season.
Step 12: Tidy Up Perennials and Offer Wildlife Habitat
Beyond the vegetable garden, it's important to clean up any dead or diseased foliage from your perennials. However, consider leaving most perennials uncut through the winter. The seedheads and remaining foliage can provide valuable habitat and food sources for overwintering pollinators and wildlife. Certain perennials, such as ornamental grasses, can add beauty and structure to your winter garden. Explore our guide to perennials for more information on which plants to cut down and which to leave for wildlife.
Additional Fall Garden Cleanup Tips
As you wrap up your fall garden cleanup, there are a few extra tasks to keep in mind. Take care of your garden shed, pots, tools, and equipment before it gets too cold. Turn off the water to your hose and drain it completely to prevent freezing. Remove and clean any pumps or fountains in your garden, ensuring they are drained and stored properly. If you have a lawn mower or string trimmer, drain out the gas to prevent damage. Clean, sand, and oil your garden tools before storing them for the winter. Finally, bring ceramic and clay pots indoors to prevent cracking in freezing temperatures.
Follow these gardening tips for fall garden cleanup, and you'll set the stage for a successful growing season next year. From removing spent plants to replenishing the soil, each step plays a crucial role in maintaining the health and fertility of your garden. Remember to embrace sustainable practices, such as composting and leaving habitat for wildlife. Bookmark our www.yardener.com for more gardening help and don't forget to share this guide with fellow gardeners.
Happy gardening!
