February is the perfect time to start planning your spring garden! Whether you're starting seeds indoors for long-season crops or sowing cold-hardy greens directly outside, this month offers plenty of opportunities to get ahead.
For yardeners like you, knowing which seeds to start in February can make all the difference in having a thriving, productive garden when warmer days arrive.
Let’s dig into the top vegetables you can start this month to set your garden up for success.
Tomatoes
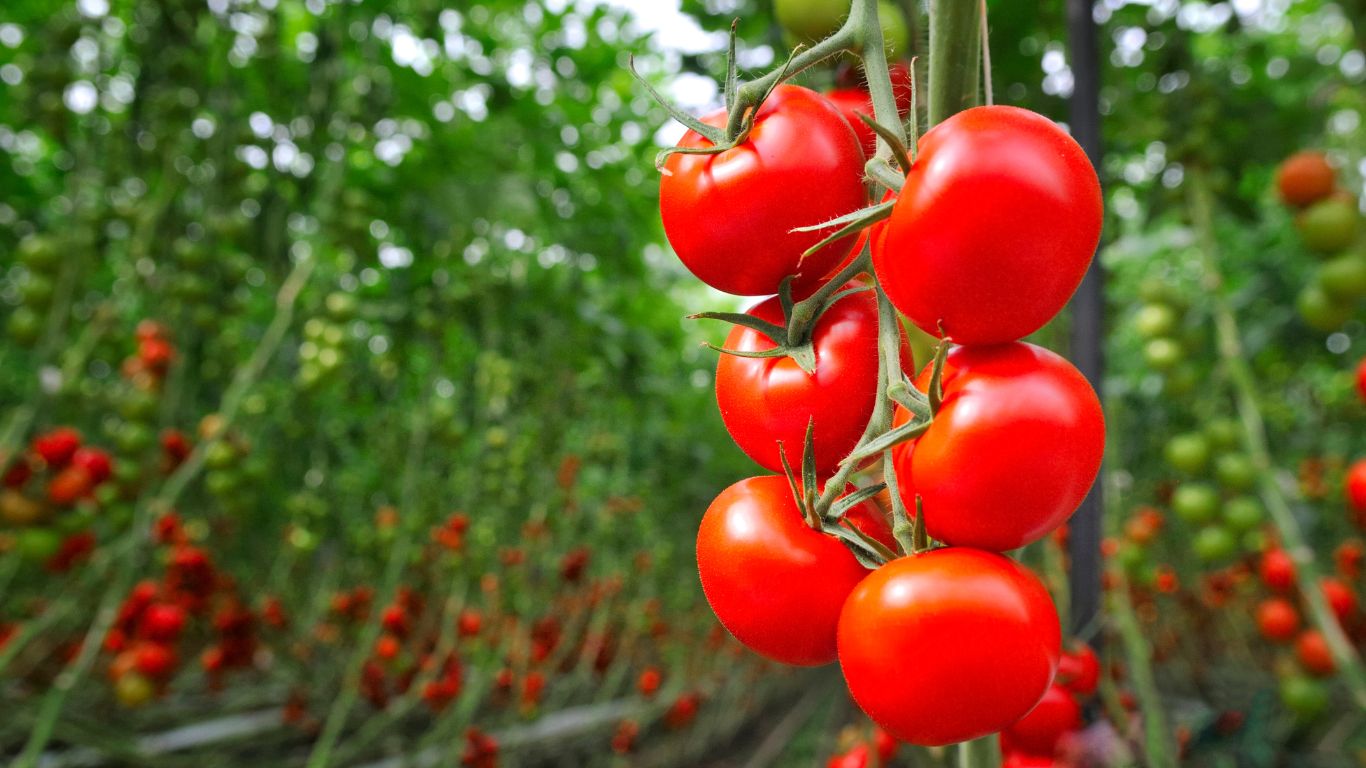
Tomatoes are the star of many gardens—and for good reason! Starting tomato seeds in February gives you a head start on a summer harvest filled with rich flavors, tender skins, and versatile uses for salads, sauces, and more. Whether you’re growing them in a backyard plot or containers, these warm-season veggies are rewarding and easy to manage with the right care.
Quick Tomato Facts
- Planting Time: Start seeds indoors 6–8 weeks before the last frost date.
- Growing Conditions: 65–85°F for germination; full sun for growth.
- Plant Types:
- Indeterminate: Vine-like, grows over 6 ft, produces fruit until frost.
- Determinate: Compact (3–4 ft), ripens all fruit at once, ideal for small spaces.
- Harvest Time: 60–90 days after transplanting (variety-dependent).
Caring for Tomatoes (Bullet List Format)
Tomatoes thrive when planted in well-draining soil rich in organic matter, with a slightly acidic pH of 6.0–7.0. Before planting, mix in compost or aged manure to boost nutrients.
Water evenly to keep the soil moist, avoiding both drying out and waterlogging. Mulch with 3–4 inches of organic material to retain moisture and regulate soil temperature. For the best results, apply slow-release organic fertilizer monthly.
Tomato Growing Tip
Indeterminate tomato plants are vine-like and keep producing fruit all season long, making them ideal for gardeners with plenty of space and sturdy trellises.
On the other hand, determinate varieties are more compact, ripen all their fruit at once, and are perfect for small spaces or container gardening. Understanding the type of tomato you’re growing can help you plan your garden more effectively.
Common Tomato Problems
Even with the best care, tomatoes can sometimes face challenges. Here are a few common issues and how to address them:
|
Problem |
Symptoms |
Solution |
|
Blossom End Rot |
Dark spots on fruit bottoms |
Add calcium and water consistently |
|
Yellow Leaves |
Nitrogen deficiency |
Use organic fertilizer |
|
Tomato Hornworms |
Holes in leaves |
Handpick or use organic pest controls |
Eco-Friendly Practices
Boost your tomato plants with natural solutions like crushed eggshells to add calcium and prevent blossom-end rot. For overall healthy growth, enrich your soil with organic compost or fertilizers, ensuring your garden stays environmentally friendly.
Tomatoes are a must-grow for every garden! What varieties do you plan to plant this year? Share your tomato-growing journey with us using #YardenerTips!
Bell Peppers
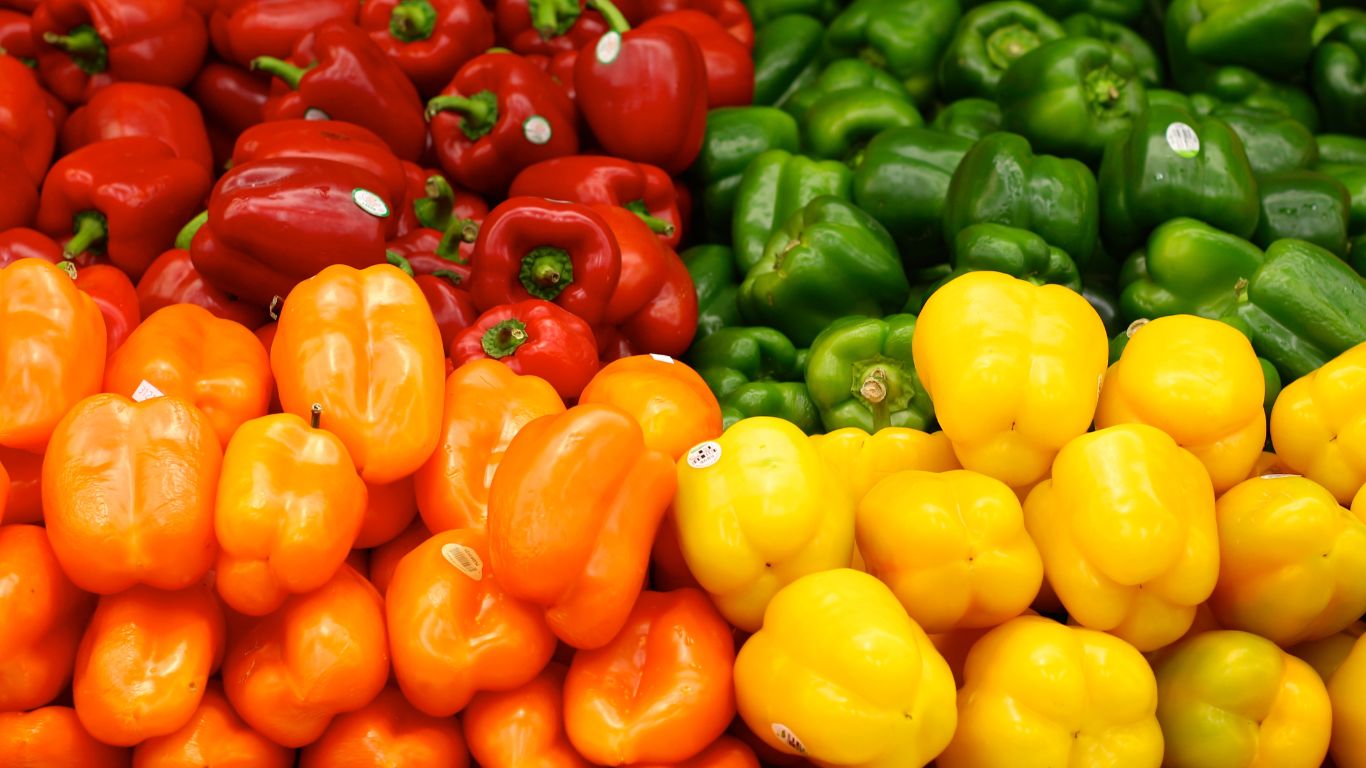
Bell peppers, also known as sweet peppers, are a favorite among gardeners for their vibrant colors, sweet flavors, and versatility in cooking.
Whether you’re growing them for fresh salads, stuffing, or roasting, these warm-season veggies are a rewarding choice for any garden.
Starting seeds in February gives you a head start on a fruitful harvest.
Quick Bell Pepper Facts
- Planting Time: Start seeds indoors 6–8 weeks before the last frost.
- Growing Conditions: Full sun, with soil temperatures of 70–80°F for best growth.
- Plant Types:
- Green Peppers: Mature but not fully ripe, with a slightly bitter flavor.
- Red Peppers: Fully ripened, sweeter, and richer in vitamins A and C.
- Harvest Time: 50–75 days after transplanting (variety-dependent).
Caring for Bell Peppers
Bell peppers thrive in rich, well-draining soil with a slightly acidic pH of 6.0–7.0. Add organic matter like peat moss or compost before planting to improve soil texture and nutrients.
Water regularly, ensuring the soil stays evenly moist but not waterlogged, and mulch with organic material to retain moisture and regulate soil temperature. To boost fruit production, fertilize lightly with a slow-release organic fertilizer every month.
Bell Pepper Growing Tip
Plant bell peppers in a sunny spot, ensuring they get 8–10 hours of light daily. For a steady yield, pick green peppers regularly to encourage the plant to produce more fruit.
To enjoy a mix of colors and flavors, leave some peppers to fully ripen to red, yellow, or even purple, depending on the variety.
Common Bell Pepper Problems
Even with proper care, bell peppers can face challenges. Here’s a quick guide to common issues:
|
Problem |
Symptoms |
Solution |
|
Blossom End Rot |
Dark spots on fruit bottoms |
Add calcium and water consistently |
|
Plant Stops Fruiting |
Excessive heat |
Use shade cloth and water regularly |
|
Pale, Wrinkled Skin |
Sunscald |
Grow plants closer together or use shade |
Eco-Friendly Practices
Support your bell pepper plants with eco-conscious methods like using compost for soil enrichment and opting for organic fertilizers. Mulching with grass clippings or chopped leaves helps conserve water and reduce waste.
Bell peppers bring color and flavor to your garden! What varieties are you planting this season? Share your gardening stories and tips with us using #YardenerTips!
Eggplants
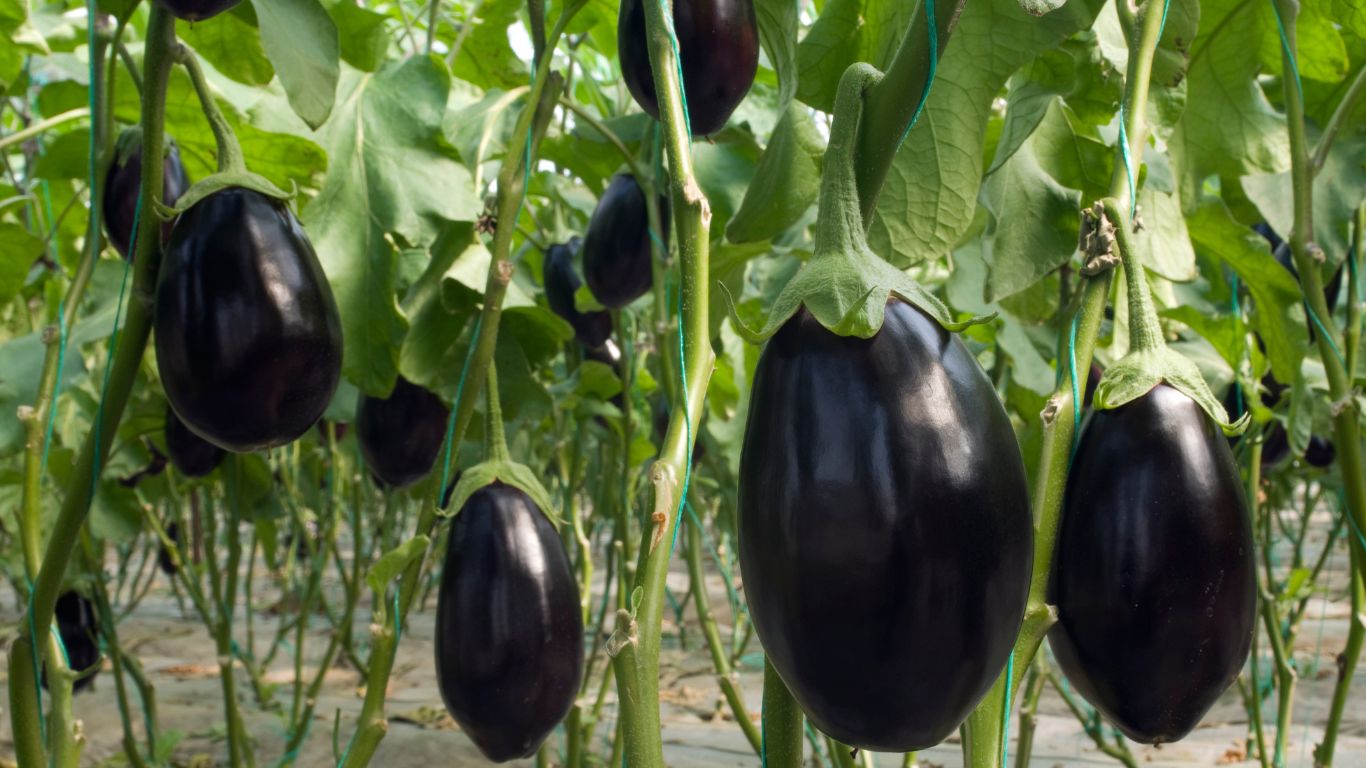
Eggplants, with their vibrant colors and versatility, bring a touch of elegance to any garden. Known for their rich purple hues, tender flesh, and mild flavor, eggplants are perfect for stir-fries, grilling, or roasting. With the right care, you’ll enjoy a bountiful harvest from these heat-loving plants all season long.
Quick Eggplant Facts
- Scientific Name: Solanum melongena
- Planting Time: After all frost danger has passed; soil temperature should be above 60°F.
- Growing Conditions: Full sun (at least 8 hours daily) and well-drained, nutrient-rich soil with a pH of 6.0–7.0.
- Harvest Time: 9–11 weeks after planting, or when fruits are shiny and firm.
Caring for Eggplants
Watering: Eggplants need consistent moisture—at least 1 inch of water weekly. Water deeply and avoid light, frequent watering to promote strong root systems. Mulch the soil to retain moisture and regulate temperature.
Fertilizing: Eggplants are heavy feeders. Use a balanced fertilizer high in phosphorus when transplanting and add a side dressing of fertilizer after flowering. Avoid over-fertilizing, as too much nitrogen encourages leafy growth at the expense of fruit production.
Mulching: Apply 2–4 inches of organic mulch (like straw or grass clippings) around plants. This helps with water retention, weed control, and stabilizing soil temperature.
Pruning and Staking: Prune plants when they’re about 6 inches tall to encourage branching. Stake taller plants to prevent branches from breaking under the weight of growing fruit.
Eggplant Growing Tip
Pick eggplants when they’re about two-thirds of their maximum size and their skin is shiny. Overripe eggplants become tough and bitter. Regular harvesting encourages continued fruit production.
Common Eggplant Problems and Solutions
|
Problem |
Symptoms |
Solution |
|
Flea Beetles |
Leaves riddled with holes |
Use row covers or apply organic insecticides like neem oil. |
|
Blossom End Rot |
Brown spots on fruit bottoms |
Maintain consistent soil moisture and check for calcium deficiencies. |
|
Verticillium Wilt |
Yellowing and stunted growth |
Avoid planting in areas with nightshades from previous years. |
Eco-Friendly Practices
Support your eggplants with sustainable practices like using compost to enrich the soil and organic fertilizers to promote healthy growth. Avoid chemical pesticides by using natural solutions, such as liquid kelp sprays, to improve disease resistance.
Eggplants are a delightful addition to any garden! Share your eggplant-growing journey or favorite recipes with us using #YardenerTips. For more practical advice, follow us for weekly gardening updates!
Broccoli
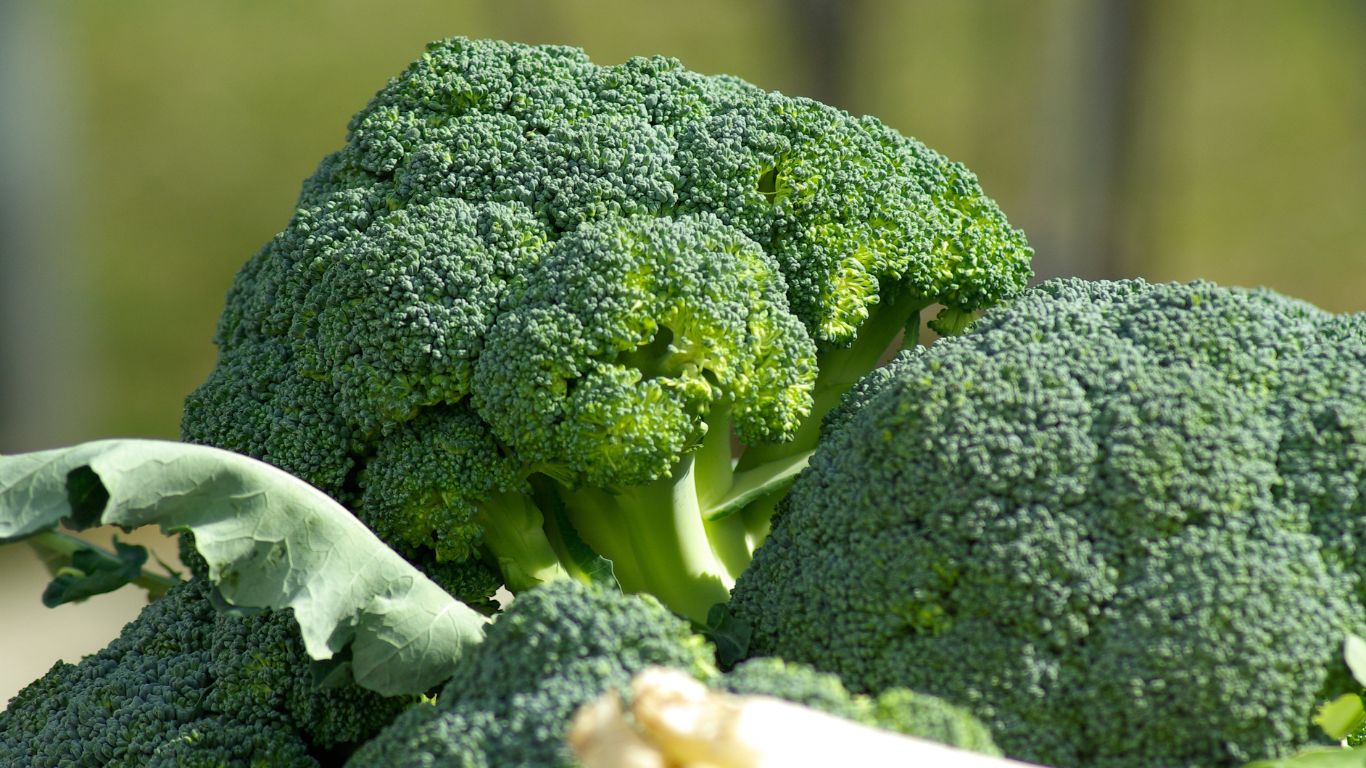
Broccoli, a star in the cole crop family alongside cabbage and cauliflower, offers delicious heads packed with nutrients like vitamin C, vitamin A, calcium, and iron. This cool-weather vegetable thrives in spring and fall, delivering a bountiful harvest when cared for properly.
Quick Broccoli Facts
- Planting Time: Early spring for a summer harvest; midsummer for a fall harvest.
- Growing Conditions: Full sun, fertile soil rich in organic matter, and a pH of 6.0–7.0.
- Harvest Time: About 55–90 days after planting, depending on the variety.
Caring for Broccoli
Watering: Broccoli needs consistent moisture—about 1 to 1.5 inches of water weekly. Mulching can help retain soil moisture and reduce the need for frequent watering.
Fertilizing: Before planting, mix a slow-release granular fertilizer into the soil. For poor soils, add a light liquid feed three weeks after planting and again as the main head starts to develop.
Mulching: Apply 2–4 inches of organic mulch like chopped leaves or straw to keep the soil cool, suppress weeds, and maintain moisture.
Spacing and Planting: Space seedlings 12–18 inches apart for full-sized heads. To maximize harvest, plant broccoli seedlings in an overcast afternoon to reduce transplant shock.
Broccoli Growing Tips
- Extend the Harvest: After harvesting the main head, let the plant grow to produce smaller side shoots for weeks.
- Rotate Crops: Avoid planting broccoli in the same spot yearly to prevent soil-borne diseases.
- Shading in Heat: If temperatures rise above 80°F, use shade cloth to protect plants and encourage side shoot production.
Common Broccoli Problems and Solutions
|
Problem |
Symptoms |
Solution |
|
Buttoning |
Very small heads form prematurely |
Fertilize adequately and water consistently. |
|
Bolting |
Yellow flowers appear early |
Shade plants during hot weather; harvest earlier. |
|
Flea Beetles |
Tiny holes in leaves |
Apply neem oil or use floating row covers. |
|
Downy Mildew |
Gray patches on leaves |
Use disease-resistant varieties and rotate crops. |
Eco-Friendly Practices
Enrich your soil with compost and use organic fertilizers to support healthy growth. Rotate broccoli with other crops yearly to improve soil health and reduce pest pressure. Opt for natural pest controls like insecticidal soap for aphids and neem oil for flea beetles.
Broccoli brings both beauty and nutrition to your garden! Share your gardening stories with us using #YardenerTips, and follow us for more practical advice and seasonal tips!
Cauliflower
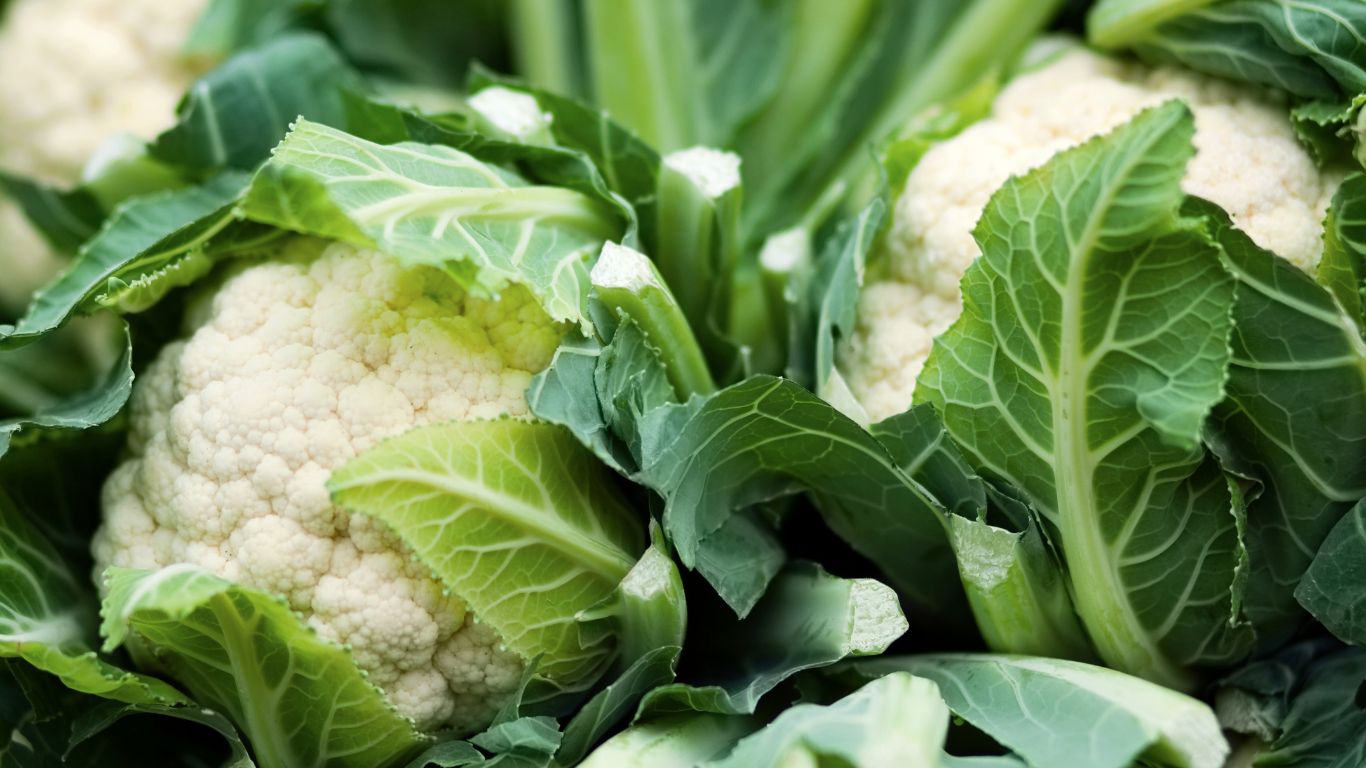
Cauliflower, a member of the cole family, is a cool-season crop loved for its mild, versatile flavor. While it requires more attention than some other vegetables, mastering its growing needs can result in a rewarding harvest of tender, creamy curds.
Quick Cauliflower Facts
- Planting Time: Start seeds indoors 6–8 weeks before the last frost date.
- Growing Conditions: Cool temperatures between 60–70°F; full sun and rich, well-draining soil.
- Blanching: Protect curds from sunlight to keep them white by tying or folding leaves over the heads.
- Harvest Time: About 60–80 days after transplanting, depending on variety.
Caring for Cauliflower
Cauliflower thrives in nutrient-rich, well-draining soil with a pH of 6.0–6.5. Before planting, prepare the soil with compost or aged manure to ensure a steady supply of nutrients.
The plants require consistent moisture—about 1–1.5 inches of water weekly—to support healthy curd development, but overwatering should be avoided as it can lead to poor drainage issues.
Mulching with 2–3 inches of organic material keeps the soil cool and retains moisture.
Midseason fertilizing with organic solutions ensures steady growth. Temperature management is critical; use fleece to protect seedlings from frost or shade cloth during summer heat to prevent bolting. Blanch the heads by tying or folding leaves over the curd to keep them white and tender.
Cauliflower Growing Tip
Blanching is essential for traditional white cauliflower varieties. Once the curd reaches about 2 inches in size, tie outer leaves loosely over the head to protect it from sunlight. Self-blanching varieties like Snowball require less maintenance but may still benefit from occasional leaf coverage.
Common Cauliflower Problems
|
Problem |
Symptoms |
Solution |
|
Buttoning |
Small, premature heads |
Ensure consistent water, nutrients, and avoid transplant stress. |
|
Bolting |
Yellow flowers, no curd |
Use shade cloth to prevent heat stress. |
|
Holes in Leaves |
Caterpillars or flea beetles |
Use organic pest control like neem oil or hand-pick pests. |
Eco-Friendly Practices
Cauliflower thrives with natural support. Use organic mulch to maintain cool soil and prevent weeds, and enrich the soil with compost or natural fertilizers. Avoid synthetic chemicals to keep your garden eco-friendly.
Cauliflower may be tricky, but the rewards are worth it! Share your progress with us using #YardenerTips, and stay tuned for more gardening advice. Happy planting!
Cabbage
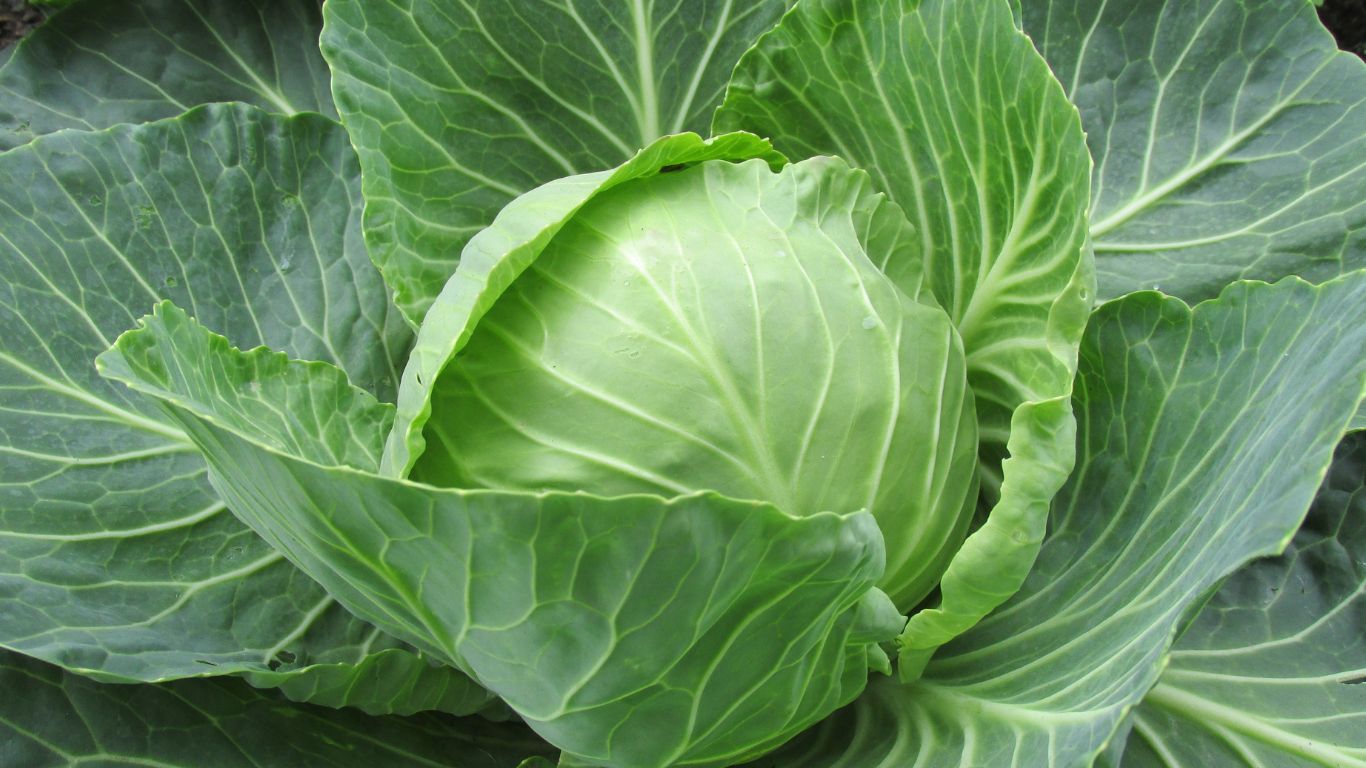
Cabbage is a versatile and hardy vegetable, perfect for both spring and fall gardens. It can handle part shade, thriving with just five hours of sunlight a day, and tolerates cool temperatures—even short periods of freezing weather. Whether you’re growing green, red, or specialty varieties, cabbage is a rewarding crop for gardeners of all levels.
Quick Cabbage Facts
- Planting Time: Start seeds indoors 6–8 weeks before the last frost date; transplant 2–3 weeks before or after the last frost.
- Growing Conditions: Prefers soil temperatures of 50°F or above; thrives in cool weather with full or partial sun.
- Spacing: Plant seedlings at least 12 inches apart for healthy growth.
- Harvest Time: 60–110 days from transplanting, depending on variety.
Caring for Cabbage
Cabbage thrives in well-drained soil enriched with compost or aged manure. Keep the soil consistently moist and apply a 2–3 inch layer of organic mulch to retain moisture and suppress weeds. For optimal growth, feed cabbage with slow-release granular fertilizer at planting and consider using a liquid fertilizer three weeks later. Protect young plants from frost with garden fleece or cloches and use shade cloth during hot weather to maintain cool soil conditions.
Cabbage Growing Tip
Cabbage comes in a variety of types, including early, midseason, late, and red varieties. Early cabbages like 'Early Jersey Wakefield' are ideal for spring planting, while late-season cabbages like 'Flat Dutch Lake' are perfect for fall harvests. Match your planting schedule to your favorite variety to enjoy fresh cabbage all year round.
Common Cabbage Problems
Even the hardiest crops can face challenges. Here are some common cabbage issues and how to manage them:
|
Problem |
Symptoms |
Solution |
|
Cabbage Loopers |
Holes in leaves |
Handpick or use organic pest controls |
|
Powdery Mildew |
White powder on leaves |
Use fungicides or improve air circulation |
|
Aphids |
Yellow, cupped leaves |
Spray with insecticidal soap |
|
Cutworms |
Seedlings cut off at base |
Place collars around seedlings |
Eco-Friendly Practices
Support your cabbage crop with sustainable methods! Add organic mulch to the soil to regulate temperature and retain moisture. If pests appear, opt for natural solutions like handpicking caterpillars or using neem oil for aphid control. Compost any unused cabbage leaves to enrich your soil for future crops.
Cabbage is a gardener’s delight, offering crisp, delicious heads for salads, slaws, and stir-fries. Which variety will you grow this season? Share your cabbage-growing tips with us using #YardenerTips!
Brussels Sprouts
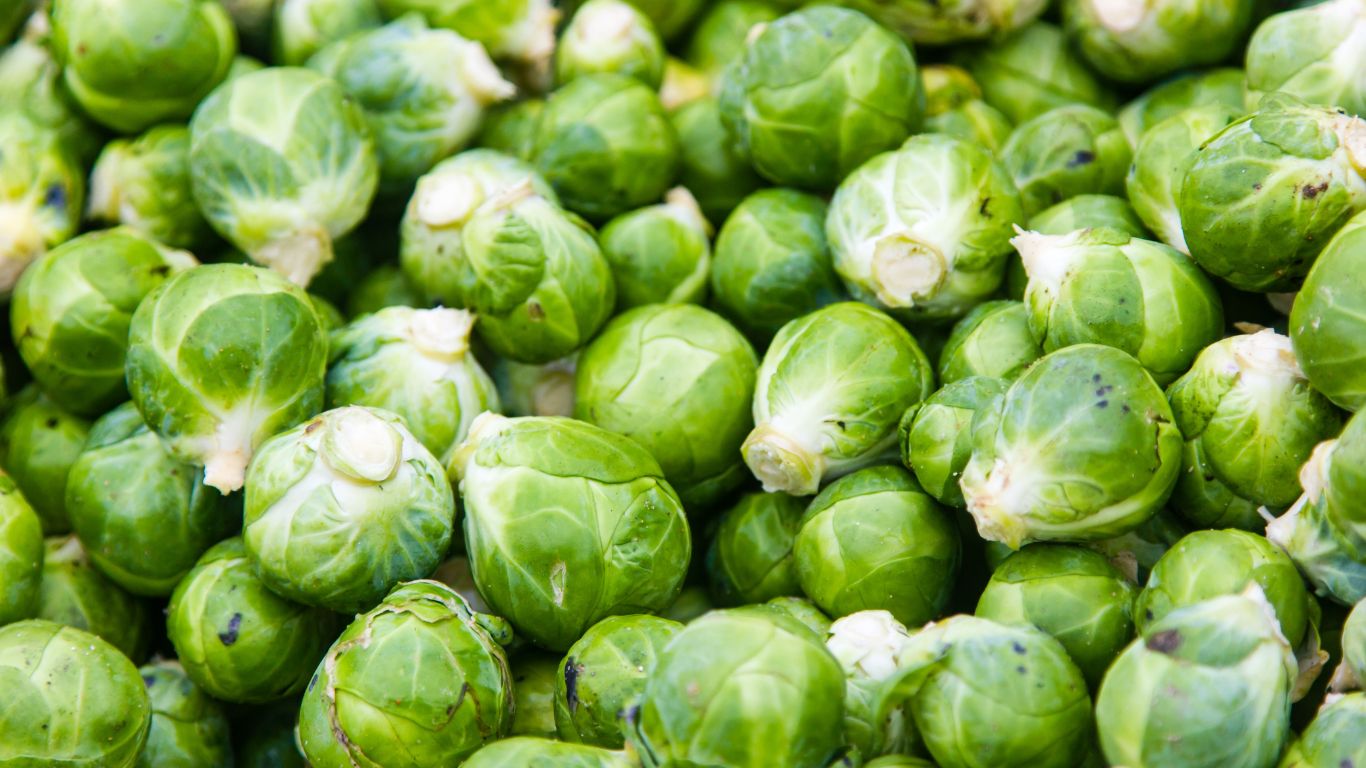
Brussels sprouts are a gardener’s delight for cool-season planting. These small, cabbage-like vegetables grow along tall stalks and are packed with nutrients, including vitamins C, K, and folate. Originating from Brussels, Belgium, where they gained popularity in the 16th century, these members of the Brassica family thrive in cooler weather and make a delicious addition to your garden.
Quick Brussels Sprouts Facts
- Planting Time: Start seeds indoors 6–8 weeks before the last spring frost or direct sow in mid-summer for a fall harvest.
- Growing Conditions: 45–75°F (7–24°C) with consistently cool temperatures.
- Maturity Time: 90–180 days from planting to harvest.
- Spacing: Space plants 18–24 inches apart in rows 30 inches apart.
- Harvest Size: Sprouts are ready when they reach 1–2 inches in diameter.
Caring for Brussels Sprouts
Brussels sprouts require fertile, well-draining soil rich in organic matter. Add compost or aged manure before planting, and space plants properly to allow for air circulation. Keep the soil consistently moist but not waterlogged, providing 1–1.5 inches of water per week. Apply a nitrogen-rich fertilizer 4 and 8 weeks after planting, but stop fertilizing once sprouts begin to form. To prevent wind damage, stake tall plants as they grow.
Brussels Sprouts Growing Tip
For the best results, grow Brussels sprouts in cool weather and maintain consistent soil temperatures with mulch. Remove yellowing lower leaves as the plant grows to encourage healthy sprout development and make harvesting easier.
Common Brussels Sprouts Problems
Even with proper care, you might encounter some challenges. Here are a few common issues and solutions:
|
Problem |
Symptoms |
Solution |
|
Aphids |
Tiny pests on leaves |
Spray with water jets or use insecticidal soap. |
|
Cabbage Worms |
Holes in leaves |
Hand-pick or use Bacillus thuringiensis (Bt). |
|
Clubroot |
Stunted growth, swollen roots |
Maintain soil pH above 6.8 and rotate crops. |
|
Bolting |
Plants flower prematurely |
Plant for fall harvest to avoid temperature spikes. |
|
Loose Sprouts |
Sprouts fail to form tightly |
Avoid over-fertilizing and maintain even temperatures. |
Eco-Friendly Practices
Brussels sprouts thrive with eco-friendly gardening methods. Use companion planting with herbs like mint or dill to deter pests naturally. Apply organic mulch to conserve moisture and suppress weeds, and practice crop rotation to prevent soil-borne diseases. Encourage beneficial insects by planting flowers nearby, and feed your plants with homemade compost tea to reduce chemical use.
Brussels sprouts are a rewarding addition to your cool-season garden! Have you tried growing them before? Share your tips and photos with us using #YardenerTips!
Leeks
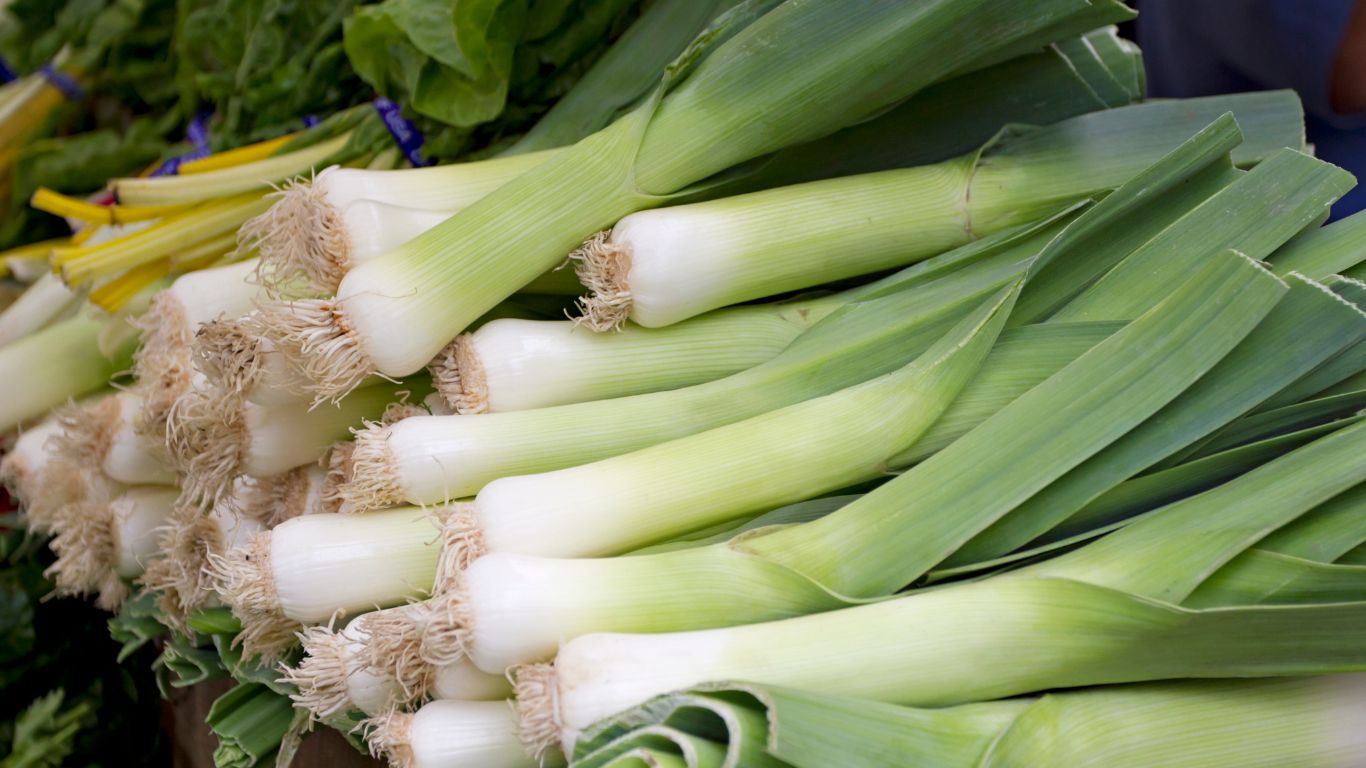
Leeks are a member of the onion family, prized for their sweet, mild flavor and versatility in cooking. Unlike onions, leeks do not form a bulb but instead grow into thick, fleshy stalks that resemble oversized green onions. Starting leek seeds in February allows you to enjoy a long growing season and harvest from fall through early spring.
Quick Leek Facts
- Planting Time: Start seeds in fall or early spring; transplant seedlings when soil temperatures are above 50°F.
- Growing Conditions: Full sun to partial shade; well-draining soil with a pH near 7.
- Plant Spacing: Thin to 2 inches apart or plant 4–6 inches apart for larger stalks.
- Harvest Time: 80–130 days from planting, depending on the variety.
Caring for Leeks
Leeks thrive in rich, well-drained soil with consistent moisture. Use organic mulch to retain moisture, keep roots cool, and suppress weeds. Fertilize lightly during soil preparation and at planting time—leeks are light feeders and don’t require excessive nutrients. To blanch the stems for a longer, whiter edible portion, mound soil or mulch around the base of the plants as they grow.
Leek Growing Tip
For sweeter, tender stalks, plant leeks in trenches 3–4 inches deep and gradually fill in the trenches as the plants grow. This technique blanches the stems naturally and helps keep them tender and white.
Common Leek Problems
Leeks are hardy but can face a few issues. Here’s how to identify and address common problems:
|
Problem |
Symptoms |
Solution |
|
Downy Mildew |
Purplish mold on sunken leaf spots |
Improve air circulation; apply fungicide |
|
Pink Root |
Roots turn pink/red, eventually rot |
Rotate crops; improve soil drainage |
|
Onion Maggots |
Stunted plants, maggots in stems |
Use row covers; apply organic pest control |
|
Onion Thrips |
Silvery leaves, dark pellets |
Remove weeds; use neem oil |
Eco-Friendly Practices
Leeks benefit from natural solutions like crop rotation to reduce pest problems and using compost for soil enrichment. Organic mulch not only helps retain moisture but also feeds the soil as it breaks down.
Leeks are a fantastic addition to any garden! What’s your favorite way to use leeks in the kitchen? Share your tips and recipes with us using #YardenerTips!
Celery
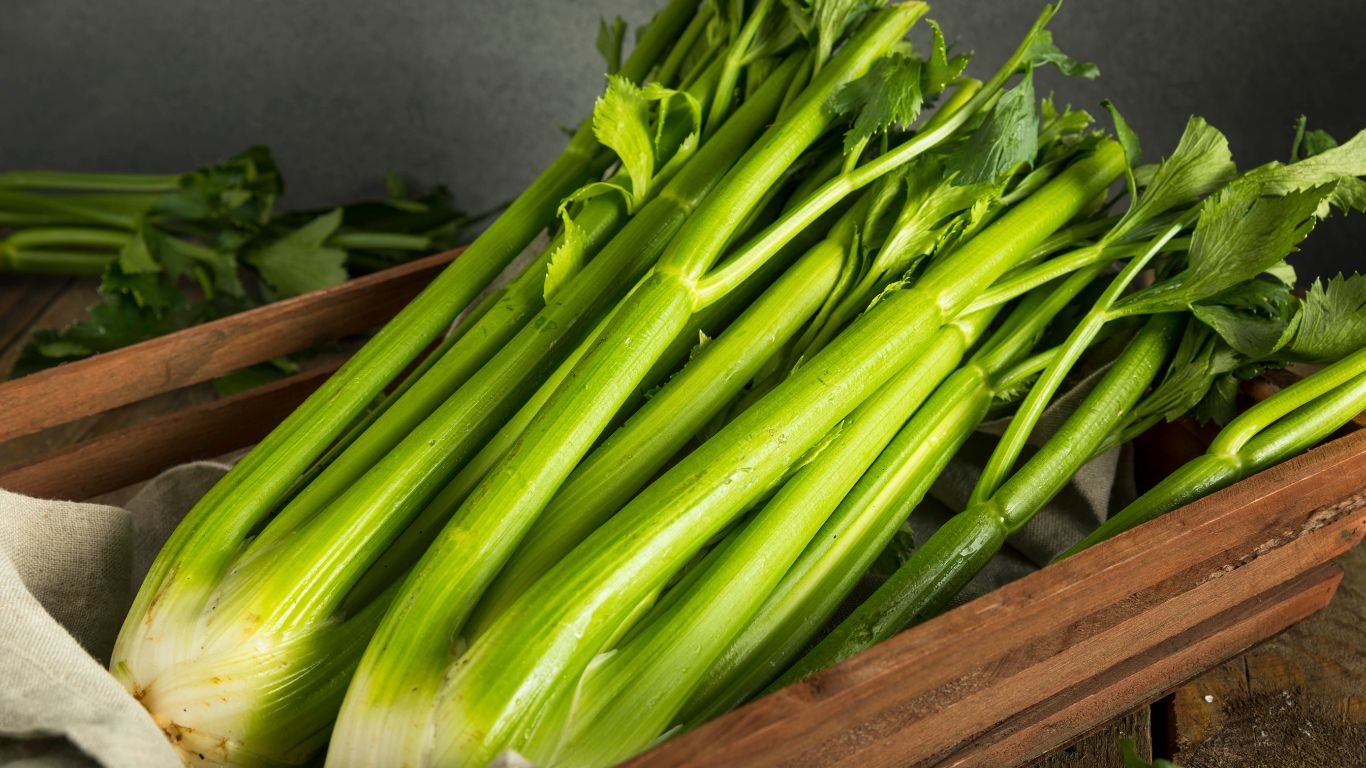
Celery (Apium graveolens) is a versatile vegetable known for its crunchy stalks, hydrating properties, and distinct flavor. Packed with vitamins A, C, and K, as well as folate and potassium, celery is not only nutritious but has also been used for medicinal purposes since ancient times. Starting celery in February gives gardeners a head start on growing this cool-season crop.
Quick Celery Facts
- Planting Time: Start seeds indoors 10–12 weeks before the last frost.
- Growing Conditions: Prefers full sun (partial shade in warmer climates); thrives in temperatures above 50°F (10°C).
- Soil Requirements: Rich, well-draining soil with a pH of 5.8–6.8.
- Spacing: 6–12 inches apart in rows spaced 18–36 inches.
- Harvest Time: 85–120 days after transplanting (variety-dependent).
Caring for Celery
Celery is a heavy feeder and thrives in nutrient-rich soil. Keep the soil consistently moist throughout the growing season, and mulch around plants to retain moisture and suppress weeds. Fertilize every 2–3 weeks with a balanced organic fertilizer and side-dress with compost or well-rotted manure for steady growth.
Celery Growing Tip
For a sustainable approach, grow celery alongside beans, cabbage, or leeks to deter pests naturally. This companion planting technique not only protects your crop but also enhances your garden’s biodiversity.
Common Celery Problems
Even with proper care, celery can face challenges. Here’s how to tackle common issues:
|
Problem |
Symptoms |
Solution |
|
Aphids and Slugs |
Chewed leaves or sticky residue |
Use neem oil or introduce beneficial insects |
|
Late Blight |
Yellow or brown spots on leaves |
Remove infected plants; practice crop rotation |
|
Bolting |
Premature flowering |
Protect young plants with row covers during cold spells |
Eco-Friendly Practices
- Regrow from Scraps: Plant the base of store-bought celery to grow new stalks and reduce food waste.
- Composting: Add kitchen scraps and garden waste to create nutrient-rich compost for fertilizing.
- Water Conservation: Use drip irrigation or soaker hoses to minimize water waste.
- Seed Saving: Let a few plants flower and collect seeds for future plantings.
Celery is a rewarding vegetable to grow for any gardener. Have you tried regrowing celery from scraps or experimenting with companion planting? Share your tips with us using #YardenerTips!
Swiss Chard
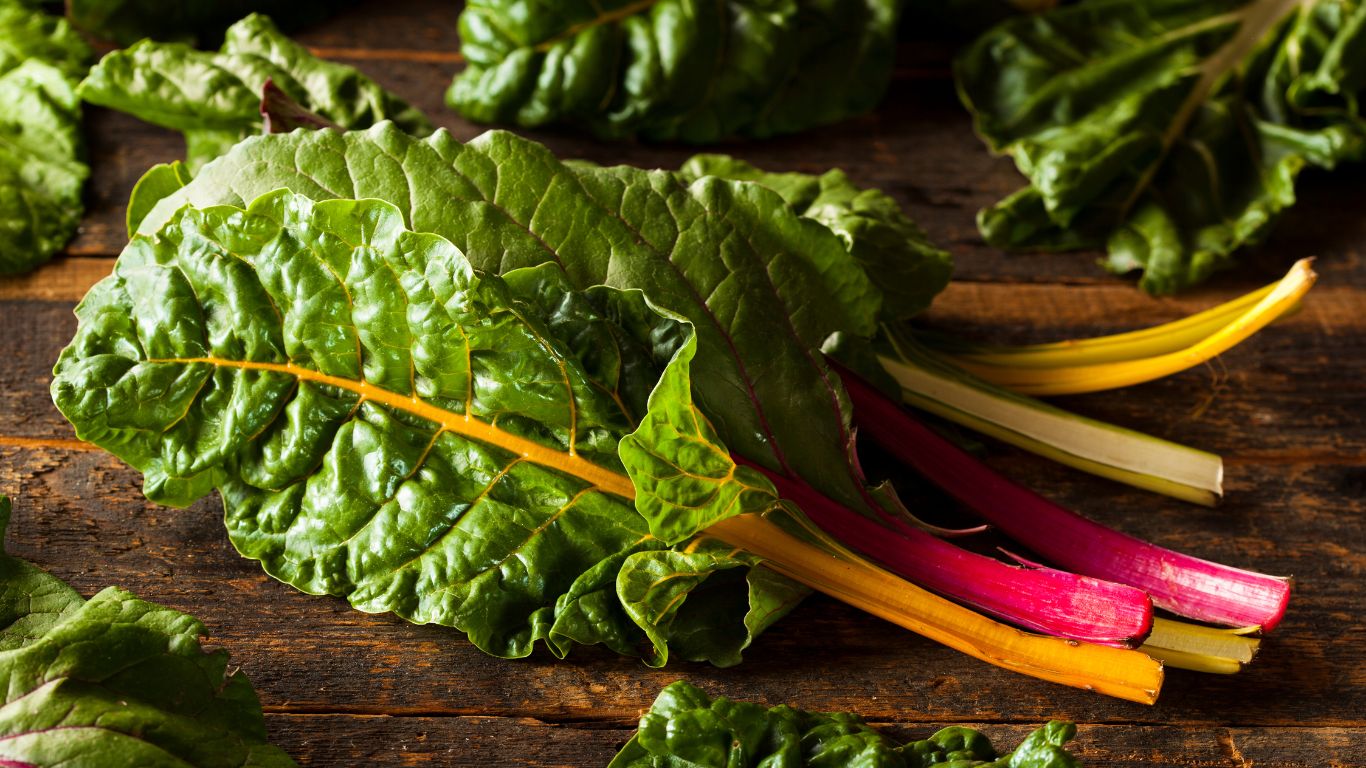
Swiss chard is one of the most nutritious and versatile vegetables you can grow. Its vibrant, vitamin-rich leaves and colorful stalks make it a treat for both your taste buds and your garden’s aesthetic. Swiss chard thrives in cool temperatures but tolerates summer heat better than spinach, making it a reliable producer throughout the season. With just a few plants, you can enjoy fresh greens regularly, whether you’re growing in a backyard garden or containers.
Quick Swiss Chard Facts
- Planting Time: Start seeds indoors 8–10 weeks before the last frost or directly sow seeds 2–4 weeks before the last frost.
- Growing Conditions: Prefers well-draining loam with a pH of 6.0–7.0 and partial to full sun (minimum 5 hours daily).
- Spacing: Thin seedlings to 10–15 inches apart; plants grow 24–30 inches tall and 3 feet wide.
- Harvest Time: Ready to harvest in 50–60 days from seed.
Caring for Swiss Chard
Swiss chard thrives in well-prepared soil enriched with compost. Sow seeds directly into the soil or start them indoors for an earlier harvest. Thin seedlings to allow proper spacing and mulch around plants with straw or chopped leaves to retain soil moisture. Water consistently to keep the soil evenly moist but not waterlogged. Apply a half-cup of slow-release fertilizer at planting and feed with foliar sprays of compost tea or liquid kelp every 2–3 weeks.
Swiss Chard Growing Tip
Plant Swiss chard in containers for small spaces, but ensure the container is at least 12 inches deep to accommodate its robust root system. Chard is also an attractive addition to ornamental flower beds, blending beauty and function in your garden.
Common Swiss Chard Problems
Here are a few issues to watch for when growing Swiss chard and how to address them:
|
Problem |
Symptoms |
Solution |
|
Cutworms |
Seedlings cut off at the base |
Use paper collars around seedlings |
|
Cabbage Worms |
Ragged holes and green excrement |
Handpick worms and inspect undersides |
|
Aphids |
Pale, distorted leaves |
Remove infested leaves and use neem oil |
|
Flea Beetles |
Tiny holes in leaves |
Apply floating row covers or organic sprays |
|
Downy Mildew |
Yellow spots and white powder on leaves |
Apply copper-based fungicide early |
Eco-Friendly Practices
Amend the soil with compost to boost nutrients and support beneficial microbes. For healthier plants, use organic fertilizers like compost tea or liquid kelp sprays. After the season, leave the root system in the soil to feed earthworms and improve soil health.
Swiss chard is as easy to grow as it is to cook! Have you tried planting this versatile vegetable? Let us know your favorite chard recipes or gardening tips using #YardenerTips!
Spinach
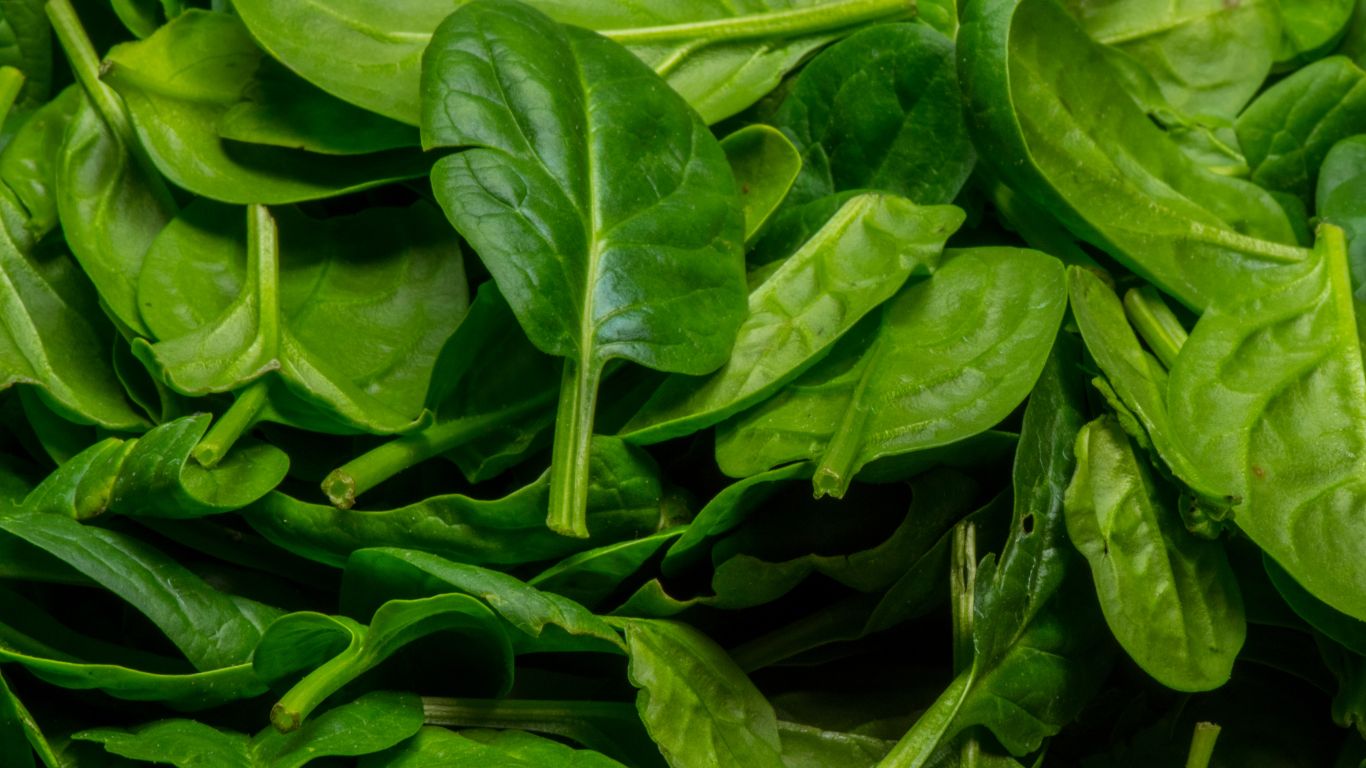
Spinach is a hardy, nutrient-packed leafy green that thrives in cool weather, making it perfect to start in February. Whether you’re planning for a spring harvest or overwintering spinach for an early crop next year, this vegetable is as adaptable as it is delicious. With the right care and timing, spinach can keep your garden productive for months.
Quick Spinach Facts
- Planting Time:
- Spring planting: As soon as the soil is workable.
- Fall planting: Late summer into September for overwintering.
- Growing Conditions: Prefers cool temperatures and fertile, well-draining soil with a pH of 6.5–7.0.
- Harvest Time: 40–50 days after planting.
- Varieties:
- Bloomsdale Heirloom: Rich flavor, ideal for containers.
- Giant Noble: Long-standing, bolt-resistant.
- Winter Giant: Cold-tolerant, dark green leaves.
Caring for Spinach
Spinach thrives in well-prepared soil rich in organic matter. Before planting, mix in slow-release granular fertilizer to ensure steady growth. Sow seeds directly into the ground in rows or wide bands, spacing them 3–6 inches apart once seedlings emerge. For continuous harvests, plant new seeds every 2–3 weeks. Keep the soil evenly moist and mulch to regulate temperature and retain moisture.
Spinach Growing Tip
For a fall or overwinter crop, plant spinach in late summer and protect seedlings with shade cloth during hot weather. In colder climates, cover young plants with 2–3 inches of straw, hay, or chopped leaves in November to shield them through winter.
Common Spinach Problems
Here are some common spinach issues and how to address them:
|
Problem |
Symptoms |
Solution |
|
Downy Mildew |
Yellow spots, purple fuzz on leaves |
Improve air circulation; use resistant varieties. |
|
Aphids |
Yellowing, curled leaves |
Wash off with water or use organic pest spray. |
|
Leaf Miners |
Brown trails on leaves |
Remove affected leaves; cover plants with row covers. |
|
Bolting |
Plant flowers prematurely |
Plant bolt-resistant varieties; harvest early. |
Eco-Friendly Practices
Spinach is a shallow-rooted plant that thrives in nutrient-rich soil. Use compost to enrich your soil naturally and avoid synthetic fertilizers. For pest control, encourage beneficial insects like ladybugs and lacewings or use floating row covers to protect against pests like aphids and cabbage loopers.
Spinach is the perfect addition to any garden, whether you're growing it for fresh salads or hearty cooked dishes. What’s your favorite way to enjoy spinach? Share your gardening tips with us using #YardenerTips!
Kale
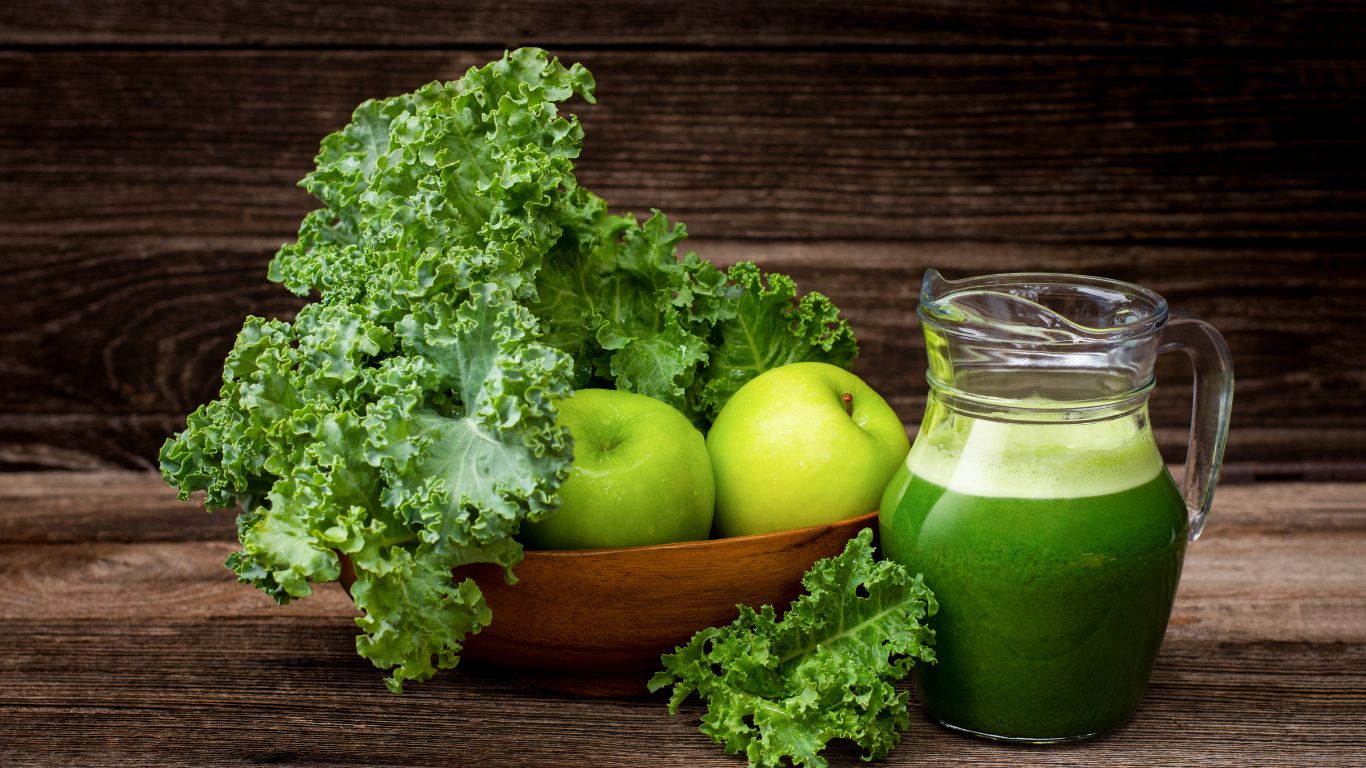
Kale, a member of the cabbage family, is loved for its versatility and nutritional value. It’s perfect for salads, soups, or even steamed as a side dish. Kale thrives in cooler temperatures, making it an excellent choice for fall gardens when the days are growing shorter and cooler. Whether you prefer the curly, smooth, or vibrant varieties of kale, this leafy green will reward you with sweet, tender leaves even into winter.
Quick Kale Facts
- Planting Time:
- Spring: Start seeds indoors 8 weeks before the last frost.
- Fall: Direct sow seeds in late June or early July.
- Growing Conditions: Requires 5–6 hours of sunlight; tolerates partial shade.
- Spacing: Thin seedlings to 10–12 inches apart for healthy growth.
- Harvest Time: 50–60 days after planting; pick outer leaves when they reach the size of a playing card.
Caring for Kale
Kale is a heavy feeder, so enrich the soil with compost or organic fertilizer before planting. For spring crops, add fertilizer when planting seedlings. For fall crops, apply a lighter dose of fertilizer in September. Kale thrives when given a monthly foliar spray of fish or kelp liquid fertilizer. Mulch with straw or chopped leaves to retain soil moisture and protect plants from frost, extending the harvest season into early winter.
Kale Growing Tip
If you’re growing kale in spring, start seeds indoors to give seedlings a head start before the weather gets too warm. For fall crops, consider using shade cloth during the summer to protect young plants and ensure optimal growth as temperatures drop.
Common Kale Problems
Kale is relatively hardy but can face pest and disease issues. Here are common problems and how to handle them:
|
Problem |
Symptoms |
Solution |
|
Cutworms |
Young plants severed at the soil |
Use collars around seedlings |
|
Flea Beetles |
Tiny holes in leaves |
Apply organic insecticides or row covers |
|
Aphids |
Curled, puckered, yellowing leaves |
Wash plants and introduce ladybugs |
|
Cabbage Loopers |
Small ragged holes in leaves |
Handpick or use BT spray |
|
Downy Mildew |
White powder on undersides of leaves |
Improve air circulation; use fungicides |
|
Powdery Mildew |
White powder on all foliage |
Remove infected leaves; avoid overhead watering |
Eco-Friendly Practices
Kale can thrive with minimal environmental impact. Use organic fertilizers and compost to nourish the soil. Companion plant kale with marigolds or garlic to naturally deter pests. Mulching helps conserve moisture and reduce the need for frequent watering.
Kale is a nutritious, hardy addition to any garden! Which variety are you planting this season? Share your gardening tips and photos with us using #YardenerTips!
Arugula
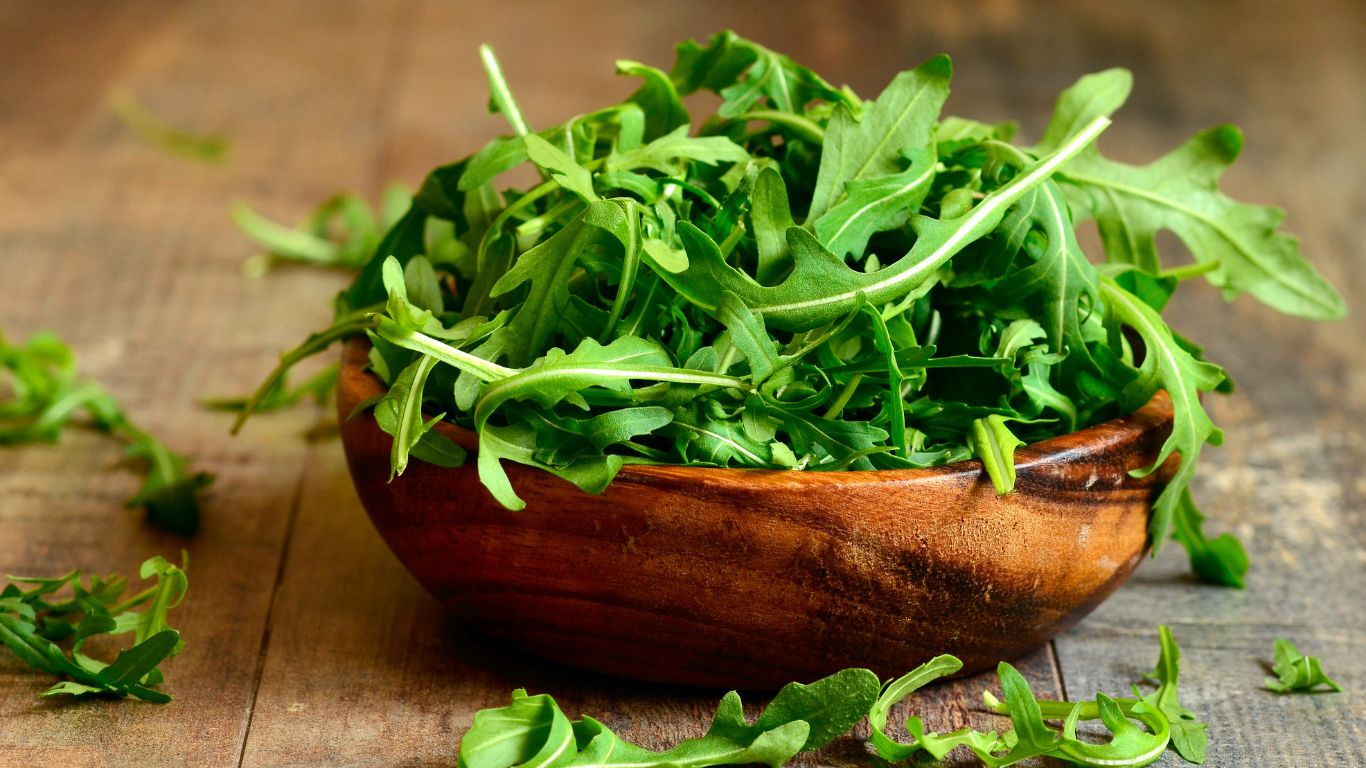
Arugula, also known as rocket or roquette, is a nutrient-packed leafy green with a bold, peppery flavor. A member of the Brassica family, it’s not only delicious but also highly nutritious, offering vitamins A, C, and K, along with antioxidants and phytochemicals that support a healthy lifestyle. Starting arugula seeds in February can ensure a fresh harvest to elevate your salads and dishes.
Quick Arugula Facts
- Planting Time: Sow seeds indoors 4–6 weeks before the last frost date.
- Growing Conditions: Full sun to partial shade; prefers well-draining soil with a pH of 6.0–7.0.
- Spacing: Sow seeds 1 inch apart, thin seedlings to 6 inches apart.
- Harvest Time: Ready to harvest when leaves are 3–4 inches long.
Caring for Arugula
Arugula thrives in consistently moist soil, so water regularly without waterlogging. Use a balanced, nitrogen-rich fertilizer every 4–6 weeks to promote healthy leaf growth. Mulch around the plants to conserve moisture and suppress weeds. For a continuous harvest, use the cut-and-come-again method, which allows leaves to regrow after cutting.
Growing Tip
To maximize your harvest, plant arugula in full sun for quicker growth but provide partial shade during hot days to prevent bolting. This leafy green is a cool-season crop that can bolt quickly in warm temperatures, so keeping it cool is key.
Common Arugula Problems
Here are a few issues to watch out for and how to address them:
|
Problem |
Symptoms |
Solution |
|
Aphids |
Sticky residue on leaves |
Spray with insecticidal soap or neem oil |
|
Downy Mildew |
Yellow spots on leaves |
Use organic liquid copper fungicide |
|
Flea Beetles |
Small holes in leaves |
Use floating row covers or neem oil |
Eco-Friendly Practices
- Pair arugula with companion plants like beans or leeks to boost growth and deter pests.
- Use organic mulch to conserve water and suppress weeds.
- Encourage beneficial insects for natural pest control, such as ladybugs to manage aphids.
- Compost kitchen scraps to enrich the soil for healthier plants.
Arugula is a perfect addition to any garden! What’s your favorite way to use it—salads, sandwiches, or something else? Share your arugula-growing tips and recipes with us using #YardenerTips!
Radishes
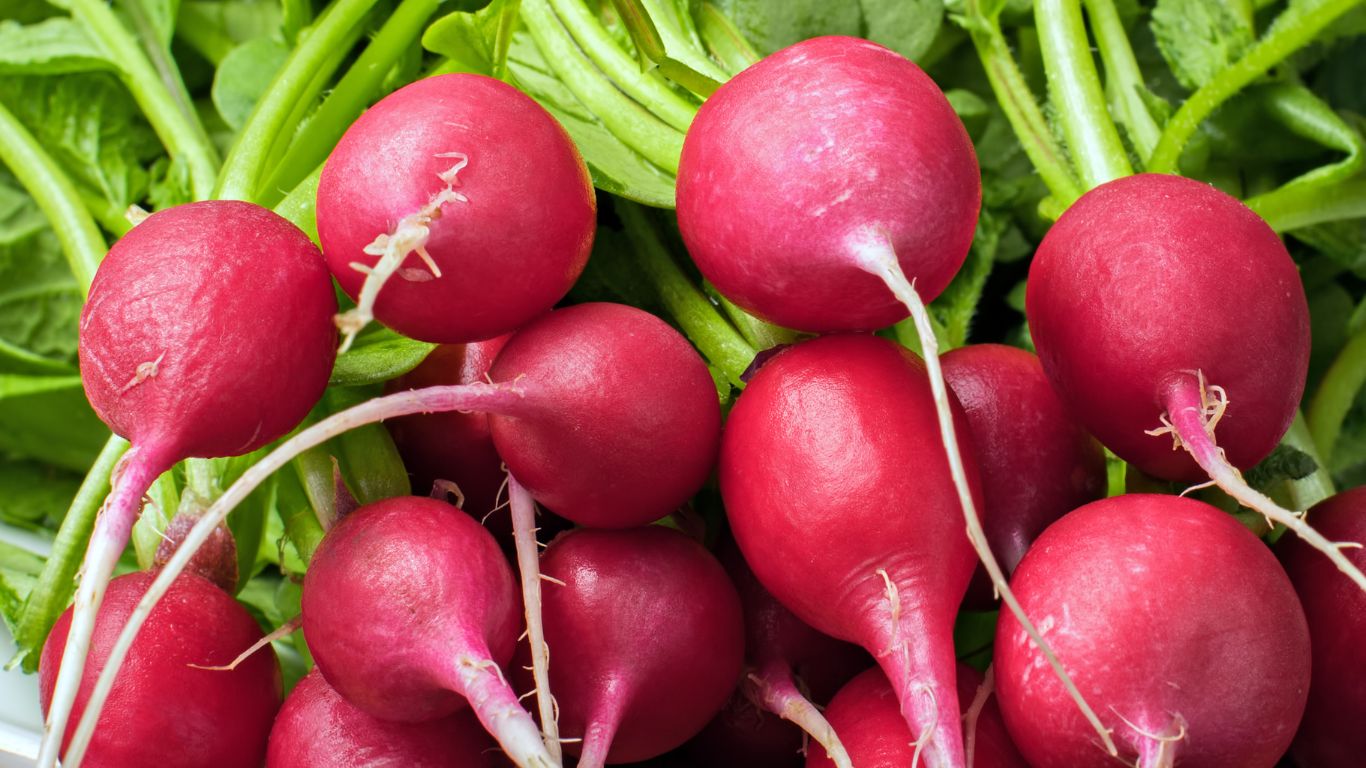
Radishes are a favorite among gardeners because they’re fast-growing, easy to care for, and one of the first crops ready to harvest in spring. With their crisp texture and peppery bite, they’re perfect for salads or as a fresh snack. Whether you’re planting traditional round varieties or unique finger-shaped types, radishes bring quick rewards to your garden.
Quick Radish Facts
- Planting Time: Start planting in March as soon as the soil is workable. For fall, begin in late August.
- Growing Conditions: Cool weather; soil temperatures of at least 40°F.
- Spacing: Sow seeds ½ inch deep and 1–2 inches apart. Thin seedlings as needed.
- Harvest Time: Ready in 24–45 days, depending on variety.
Caring for Radishes
Prepare the soil by loosening it and mixing in slow-release granular fertilizer, but avoid excessive nitrogen, which can lead to pithy roots. Radishes grow best in cool weather, so sow seeds every 10 days for a steady supply throughout spring. Harvest promptly when young and tender, as they become woody and spicy if left too long. For fall planting, protect seedlings from the late summer heat with shade cloth or fleece.
Radish Growing Tip
Radishes thrive in well-drained, loose soil that encourages proper root development. Ensure they receive 6 hours of sunlight daily but avoid high temperatures, which can stress the plants. Succession planting every 10 days will keep your harvest consistent and fresh.
Common Radish Problems
Here are some common issues you might face while growing radishes and how to solve them:
|
Problem |
Symptoms |
Solution |
|
Flea Beetles |
Tiny black insects; shot holes in leaves |
Use row covers or organic pest controls |
|
Root Maggots |
Wilting, yellowing, or dying plants |
Rotate crops and use floating row covers |
|
Poor Root Development |
Small or misshapen roots |
Thin seedlings, ensure full sun, avoid excess nitrogen |
|
Nitrogen Deficiency |
Pale yellow leaves |
Apply a balanced organic fertilizer |
Eco-Friendly Practices
For a sustainable garden, consider using biodegradable seed tapes for precise planting with minimal thinning. Compost kitchen scraps like coffee grounds to enrich the soil and support healthy radish growth.
Radishes are perfect for gardeners of all levels! What’s your favorite variety to grow? Share your radish success stories with us using #YardenerTips!
Carrots
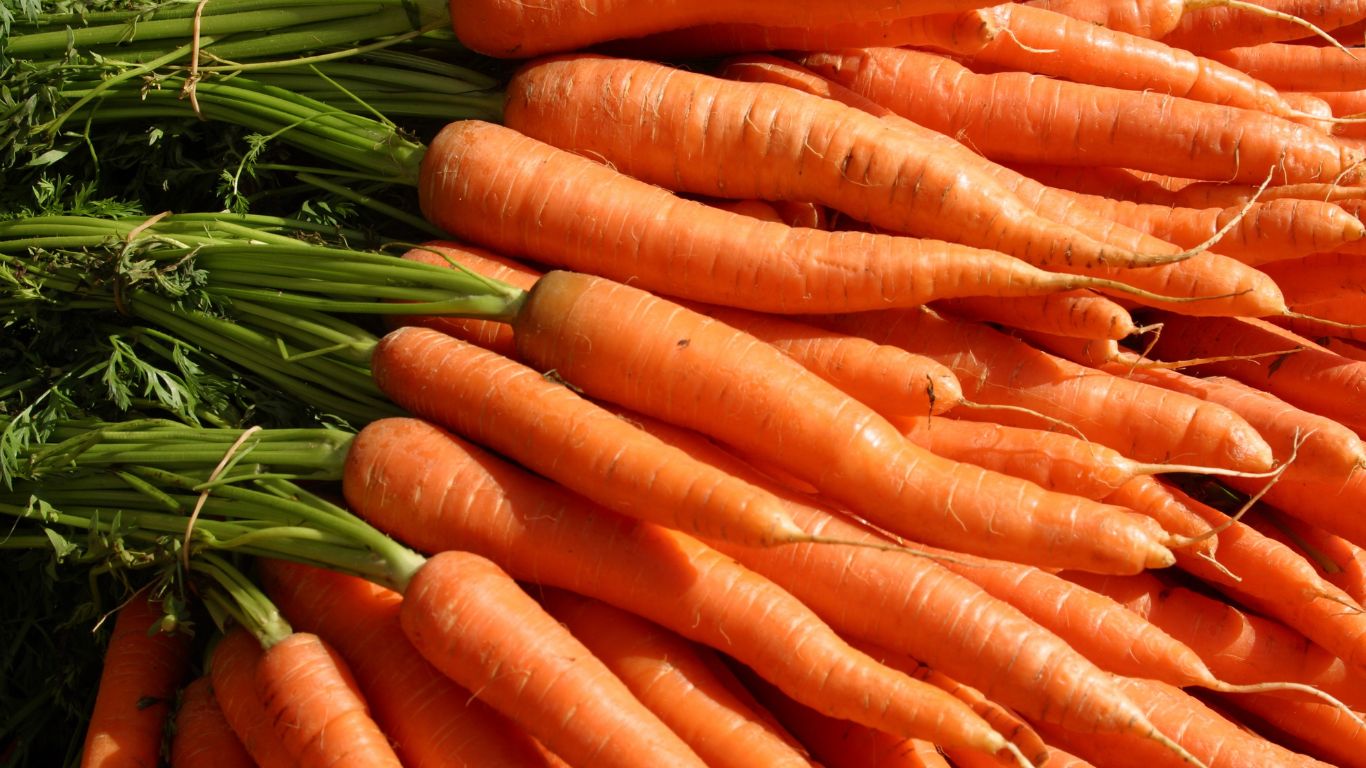
Carrots are a versatile and satisfying vegetable, both in the garden and the kitchen. By sowing successive crops throughout the summer, you can enjoy a steady supply of this nutritious root. Carrots thrive in warm weather, growing until frost outdoors and storing well indoors for months. Known for their rich vitamin and fiber content, they are delicious raw, cooked, or as a base for countless recipes.
Quick Carrot Facts
- Planting Time: Sow seeds from mid-spring to early summer.
- Growing Conditions: Loose, sandy, well-draining soil; full sun.
- Harvest Time: 60–75 days after planting (variety-dependent).
- Plant Height: Feathery foliage grows 8–12 inches tall.
Caring for Carrots
Carrots thrive in loose, light soil free of rocks and clumps to prevent forked roots. Mix in organic matter like compost or chopped leaves to improve drainage and soil health. Mulch with 2–4 inches of organic material once seedlings are established to retain moisture, suppress weeds, and prevent carrot shoulders from turning green. Water deeply but consistently to avoid splitting or tough roots, and thin seedlings to 2 inches apart for proper spacing.
Carrot Growing Tip
Choose carrot varieties suited to your soil and needs. For sandy soils, opt for long, slender types like 'Imperator 58.' In heavier soils, stump-rooted varieties like 'Chantenay' or small, container-friendly types like 'Thumbelina' are better choices. Sow seeds every two weeks for a continuous harvest, and consider using seed tapes for even planting.
Common Carrot Problems
Carrots can face a few challenges in the garden, but with proper care, you can easily address them:
|
Problem |
Symptoms |
Solution |
|
Forked or Twisted Roots |
Overcrowding or rocky soil |
Thin seedlings, loosen soil before planting |
|
Green Shoulders |
Exposure to sun |
Cover exposed roots with soil or mulch |
|
Hairy Roots |
Excess fertilizer |
Use slow-release organic fertilizer sparingly |
|
Split Roots |
Uneven watering |
Water deeply and consistently |
Eco-Friendly Practices
Enhance soil health naturally by mixing in compost or peat moss before planting. Mulching with organic materials not only retains moisture but also enriches the soil as it breaks down, fostering a thriving ecosystem for beneficial microbes and earthworms.
Carrots are a rewarding addition to any garden! What’s your favorite carrot variety to grow? Share your gardening stories with us using #YardenerTips!
Beets
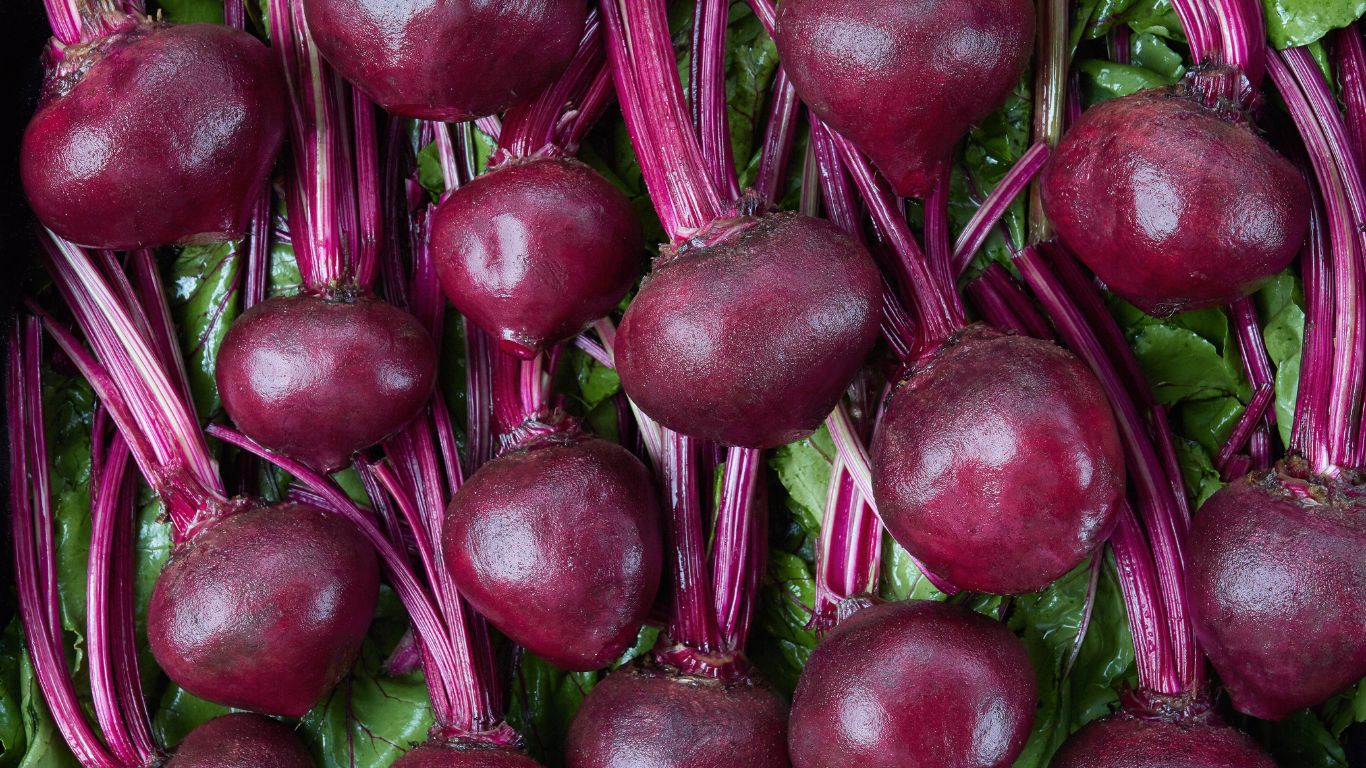
Beets are a must-grow vegetable for their versatility and rich nutritional value. They can be grown for both their vibrant greens and flavorful roots, making them a double-duty crop. Beets thrive in cool seasons and are perfect for planting in February to enjoy a fresh, sweet harvest in spring or fall.
Quick Beet Facts
- Planting Time: Best grown in cool temperatures (50–65°F); start early for spring harvest or late for fall crops.
- Growing Conditions: Prefers well-draining soil, slightly alkaline (pH 6.5–7.5).
- Varieties:
- For Roots: Red Ace, Big Red, Pacemaker III.
- For Greens: Lutz Green Leaf, Crosby Green Top.
- Harvest Time: Roots are ready in 50–70 days; greens can be picked earlier.
Caring for Beets
Beets grow best in loose, well-draining soil mixed with organic matter. Keep the soil evenly moist, especially during germination, and add a layer of organic mulch to regulate soil temperature and retain moisture. Avoid overcrowding by thinning seedlings early, and feed your beets with a slow-release fertilizer at planting for a productive season.
Beet Growing Tip
Beets can be grown in successions for a continuous harvest. Plant seeds every three weeks in early spring and again in late summer for a fall crop. This staggered approach ensures fresh greens and tender roots throughout the season.
Common Beet Problems
Beets may encounter some challenges during growth. Here’s a quick guide to common issues and their solutions:
|
Problem |
Symptoms |
Solution |
|
Woody Roots |
Tough texture, poor taste |
Harvest earlier and ensure consistent watering. |
|
Misshapen Roots |
Uneven growth |
Thin seedlings early to avoid overcrowding. |
|
Purplish Leaves |
Acidic soil |
Adjust pH with lime; aim for 6.5–7.5. |
Eco-Friendly Practices
Boost your soil’s health by adding compost or seaweed at planting. Use organic mulch, such as chopped leaves or straw, to keep weeds down, retain moisture, and promote a cooler soil environment, which beets love.
Beets are a rewarding addition to any garden. Which variety are you excited to try this year? Share your beet-growing stories with us using #YardenerTips!
Turnips
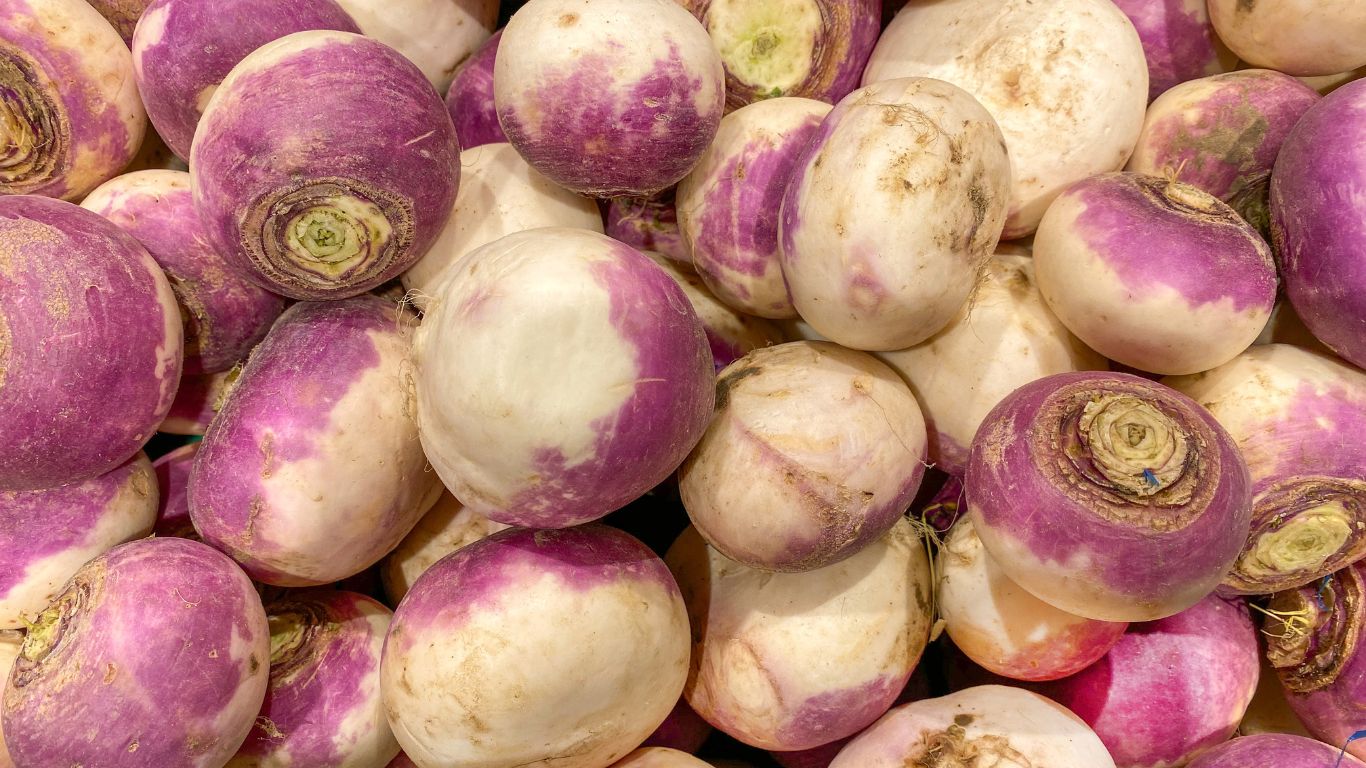
Turnips are versatile root vegetables perfect for cool-season gardening. Sowing turnip seeds in February is an excellent way to get an early start, especially if you use protection like cloches or greenhouses. These hardy plants are known for their edible roots and nutritious greens, offering a two-in-one harvest for your garden.
Quick Turnip Facts
- Planting Time: February under protection (cloches or greenhouses) or March outdoors.
- Growing Conditions: Soil temperature of 40°F (4.4°C) or higher; full sun to partial shade.
- Varieties:
- Atlantic: Early variety ideal for February sowing.
- Purple Top Milan: Perfect for cooler conditions and early planting.
- Harvest Time: 40–60 days after sowing (roots should reach 2–3 inches in diameter).
Caring for Turnips
Turnips thrive in well-draining, loamy soil with a pH between 6.0 and 7.0. Sow seeds directly into the garden at a depth of 1/4 to 1/2 inch. Once seedlings sprout, thin them to 6–12 inches apart to give roots room to grow. Water consistently to keep the soil moist but not waterlogged, and apply a balanced nitrogen-rich fertilizer every 4–6 weeks. Keep the area weed-free and monitor for common pests like flea beetles or diseases such as powdery mildew.
Turnip Growing Tip
For early planting in February, protect your turnip seeds with cloches, row covers, or greenhouses to shield them from frost and create a warmer microclimate for germination. In colder regions, it’s often better to wait until March when the soil warms up consistently.
Common Turnip Problems
|
Problem |
Symptoms |
Solution |
|
Cabbage Root Fly |
Stunted growth, damaged roots |
Use mesh or horticultural fleece |
|
Flea Beetles |
Small holes in leaves |
Use row covers and keep soil moist |
|
Powdery Mildew |
White patches on leaves |
Improve air circulation, apply fungicide |
|
Bolting |
Premature flowering |
Protect young plants from extended cold |
Eco-Friendly Practices
Turnips are ideal for sustainable gardening. Practice companion planting with beans or cabbage to deter pests naturally. Mulch with organic materials to conserve water and suppress weeds, and use compost made from kitchen scraps to enrich the soil. Rotate turnips with non-brassica crops each year to prevent soil-borne diseases.
Turnips are an excellent choice for an early spring harvest! Have you tried growing them before? Share your tips or favorite varieties with us using #YardenerTips!
Peas
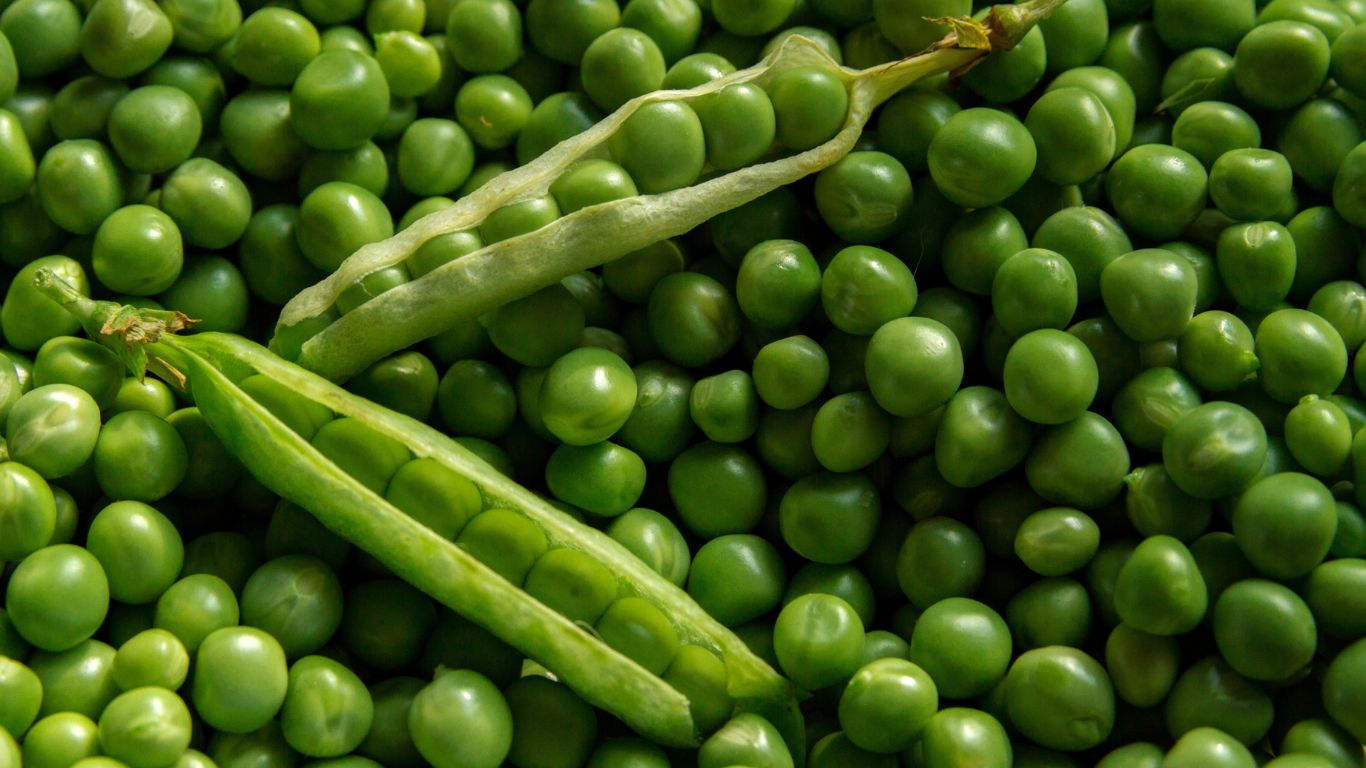
Peas are a gardener’s delight—versatile, hardy, and easy to grow in both spring and fall. These cool-season vegetables thrive in temperatures between 40–75°F and can even withstand light frosts after sprouting. Whether you’re planting garden peas, snap peas, or snow peas, they’re a productive and rewarding addition to any garden.
Quick Pea Facts
- Planting Time: Early spring (4–6 weeks before last frost) or late summer for a fall harvest.
- Growing Conditions: Full sun, well-draining soil with a pH of 6.0–7.0.
- Plant Types:
- Garden Peas: Edible seeds, inedible pods.
- Snap Peas: Edible seeds and pods, harvested before full maturity.
- Trellising: Use a trellis or stakes to support tall-growing varieties.
- Harvest Time: 55–90 days, depending on the variety.
Caring for Peas
Peas prefer nutrient-rich, well-drained soil with added compost for best results. Water needs are moderate—about ½ to 1 inch per week in spring, increasing during flowering and pod development. Support plants with a trellis or stakes to keep them off the ground, which improves air circulation and reduces bird damage. Fertilize lightly with a slow-release organic fertilizer at planting, and foliar spray with liquid kelp or compost tea a few times during the growing season for a healthy boost.
Pea Growing Tip
Snap peas are a great choice if you want the most value from your garden. Not only do they produce more food per foot than garden peas, but their edible pods make them a versatile ingredient in the kitchen. For container gardeners, dwarf pea varieties like ‘Laxton’s Progress’ and ‘SugarBon’ are excellent options and require minimal space.
Common Pea Problems
Peas are relatively low-maintenance, but a few issues may arise. Here’s a quick guide to common problems and solutions:
|
Problem |
Symptoms |
Solution |
|
Powdery Mildew |
White mold on leaves, stunted plants |
Use organic fungicide or compost tea |
|
Fusarium Wilt |
Yellowing, gradual defoliation |
Rotate crops, plant disease-resistant types |
|
Birds |
Pods eaten, young plants damaged |
Use netting to protect crops |
Eco-Friendly Practices
Incorporate a pea seed inoculant to boost nitrogen levels naturally, reducing the need for chemical fertilizers. For best results, use compost to enrich your soil and practice crop rotation to prevent diseases like Fusarium Wilt. Additionally, shade netting and mulch can help protect fall crops from high temperatures.
Peas are a great way to start your gardening season! What’s your favorite pea variety to grow? Share your tips with us using #YardenerTips!
Onions
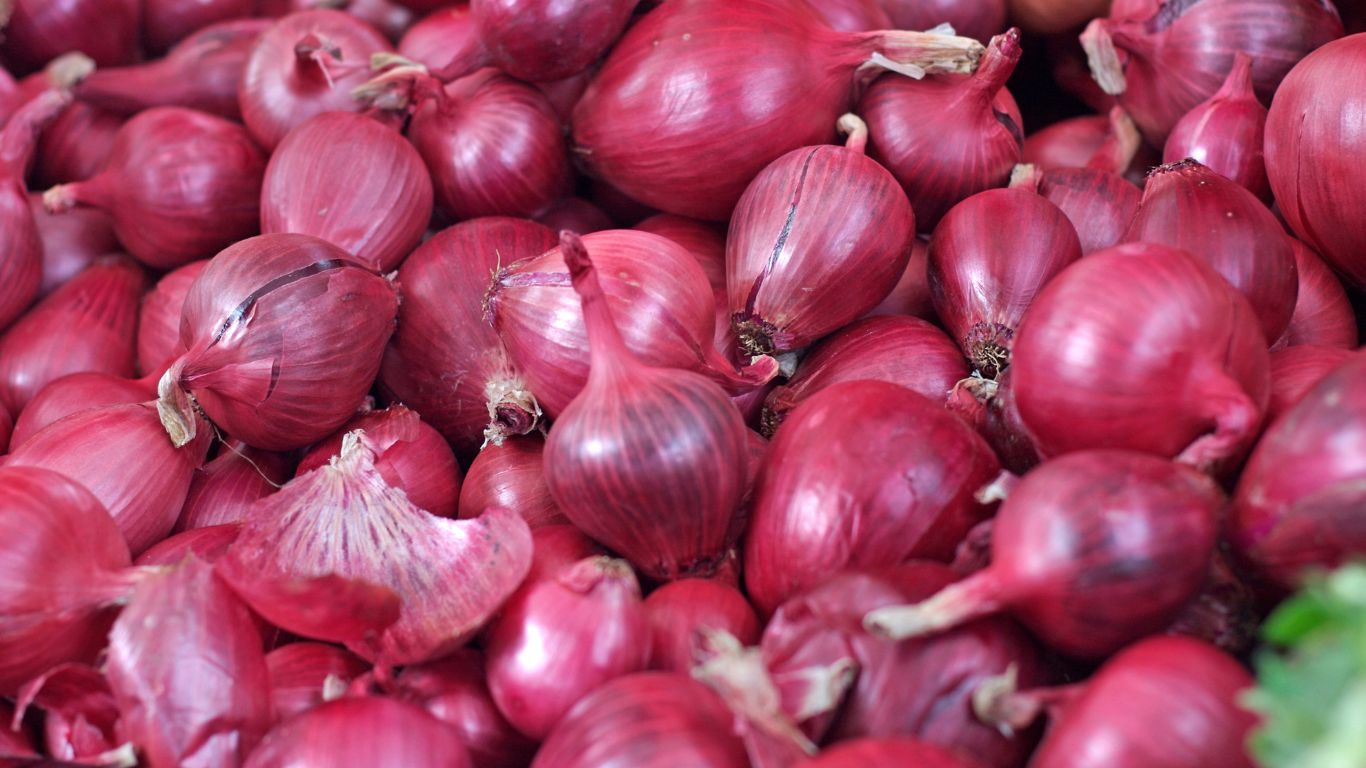
Onions are a staple in kitchens worldwide, valued for their versatility and distinctive flavor, which ranges from sweet to pungent. Starting onion seeds in February allows you to grow a delicious crop while preparing for the spring planting season. Whether you’re growing them from seeds, sets, or transplants, onions are a rewarding addition to any garden.
Quick Onion Facts
- Planting Time: Early spring in cooler climates; fall in warmer regions.
- Growing Conditions: Full sun, well-draining fertile soil.
- Plant Types:
- Short-day: Ideal for southern regions, forming bulbs with 10–12 hours of daylight.
- Long-day: Suited for northern regions, requiring 14–16 hours of daylight.
- Day-neutral: Grows well in most climates, unaffected by day length.
- Harvest Time: 100–175 days after planting.
Caring for Onions
Onions thrive in fertile, well-draining soil with consistent moisture. Water weekly, providing about 1 inch of water, and mulch around the plants to retain moisture and suppress weeds. Apply a nitrogen-rich fertilizer during the early growing season but stop watering when the tops begin to yellow and fall over to encourage proper curing.
Onion Growing Tip
To maximize bulb size, ensure proper spacing (4–6 inches between plants) and remove any flower stalks that develop. Companion planting with carrots, beets, or lettuce can help deter pests and make the most of your garden space.
Common Onion Problems
Even with good care, onions can face challenges. Here are a few common issues and how to resolve them:
|
Problem |
Symptoms |
Solution |
|
Onion Maggots |
Stunted or rotting bulbs |
Use row covers; practice crop rotation |
|
Thrips |
Silvery streaks on leaves |
Apply insecticidal soap or neem oil |
|
Downy Mildew |
Fuzzy growth on leaves |
Improve air circulation; apply fungicides |
|
Bolting |
Premature flowering |
Plant at the right time; use bolt-resistant varieties |
Eco-Friendly Practices
Encourage sustainable gardening by using drip irrigation or soaker hoses to conserve water and applying organic mulch to suppress weeds. Compost kitchen scraps and garden waste to create nutrient-rich soil, and rotate onion crops with non-allium plants to prevent soil-borne diseases. Save seeds from flowering plants for future planting to reduce waste and costs.
Onions are a must-have in every garden! What’s your favorite onion variety to grow? Share your gardening tips and photos with us using #YardenerTips!
Garlic (if not done in fall)
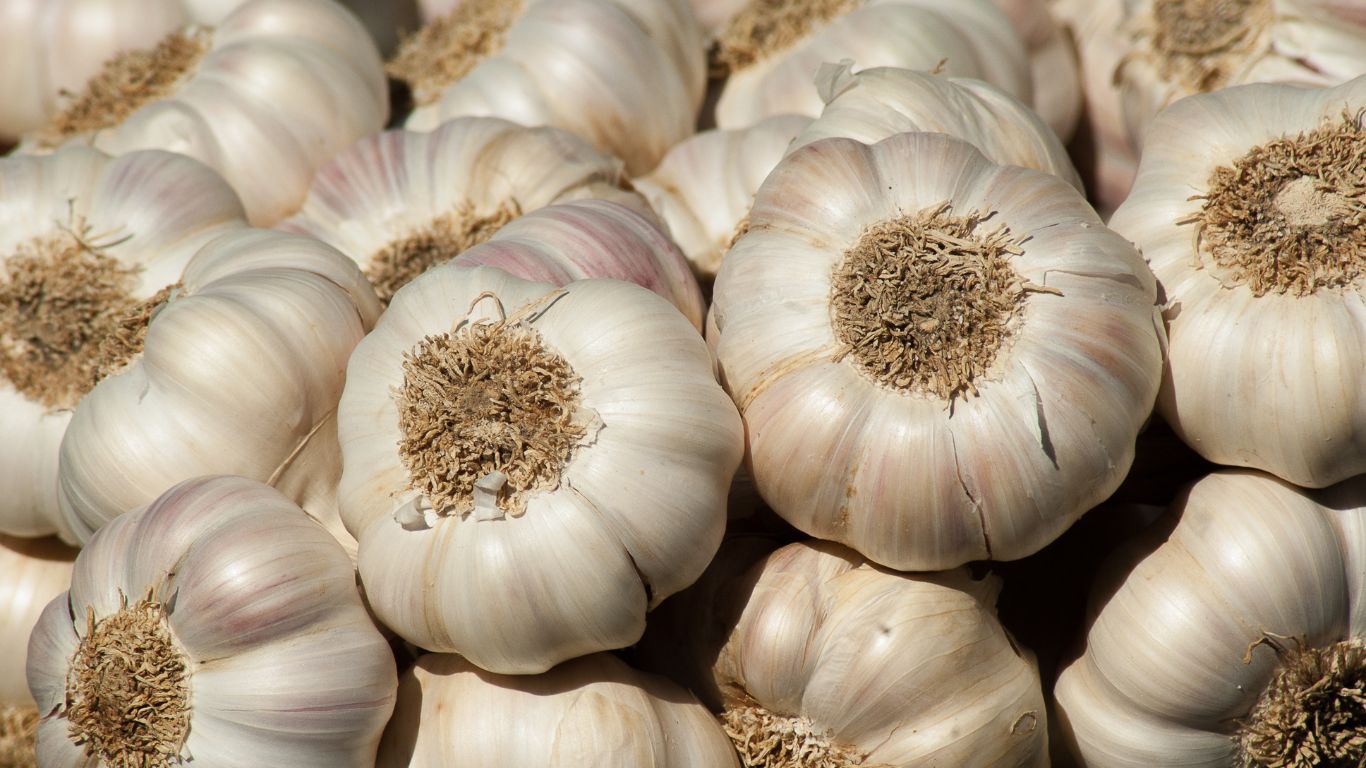
Garlic (Allium sativum) is a hardy perennial and a close relative of onions. Its distinct flavor makes it indispensable in the kitchen, enhancing gravies, soups, sauces, and more. Easy to grow and adaptable to small spaces, garlic thrives when planted in the fall, allowing its roots to establish before winter. This results in vigorous growth and a robust harvest come spring.
Quick Garlic Facts
- Planting Time: Best planted in the fall, 4–6 weeks before the ground freezes.
- Growing Conditions: Cool winters for proper bulbing; evenly moist soil.
- Harvest Time: 8–9 months after planting, typically in summer.
- Planting Method: Divide cloves from a garlic bulb and plant them 3–5 inches apart.
Caring for Garlic
Garlic is a low-maintenance crop but requires a few specific steps for optimal growth. Ensure the soil is well-draining and high in organic matter. Keep the soil moist during the growing season, especially from late spring to mid-summer when bulbs are forming. Fertilize lightly in early spring with a slow-release organic fertilizer. Mulch the planting area after planting to protect the cloves from fluctuating winter temperatures.
Garlic Growing Tip
Garlic comes in two main types:
- Softneck Garlic: Common supermarket variety with smaller cloves and longer storage life. Ideal for braiding and adaptable to various climates.
- Hardneck Garlic: Produces fewer but larger cloves and includes varieties like Rocambole. Easier to peel and offers robust flavors but requires cooler climates.
Understanding the type of garlic you’re planting ensures a better harvest suited to your growing conditions.
Common Garlic Problems
Garlic is typically pest-resistant but may face some issues. Here are common problems and their solutions:
|
Problem |
Symptoms |
Solution |
|
Botrytis ("Neck Rot") |
Water-soaked stems, bulb rot |
Use disease-free seed and rotate crops |
|
Irregular Bulbs |
Dry soil or poor planting |
Keep soil evenly moist and plant properly |
|
Stunted Growth |
Nutrient deficiency |
Add compost or organic fertilizer |
Eco-Friendly Practices
Use disease-free seed garlic to prevent soil contamination and rotate garlic crops to maintain soil health. Mulching with organic materials like straw or shredded leaves conserves moisture and regulates soil temperature while feeding beneficial soil microbes.
Garlic is one of the easiest and most rewarding crops to grow. What are your favorite varieties to plant? Share your garlic-growing tips and experiences with us using #YardenerTips!
Parsnips
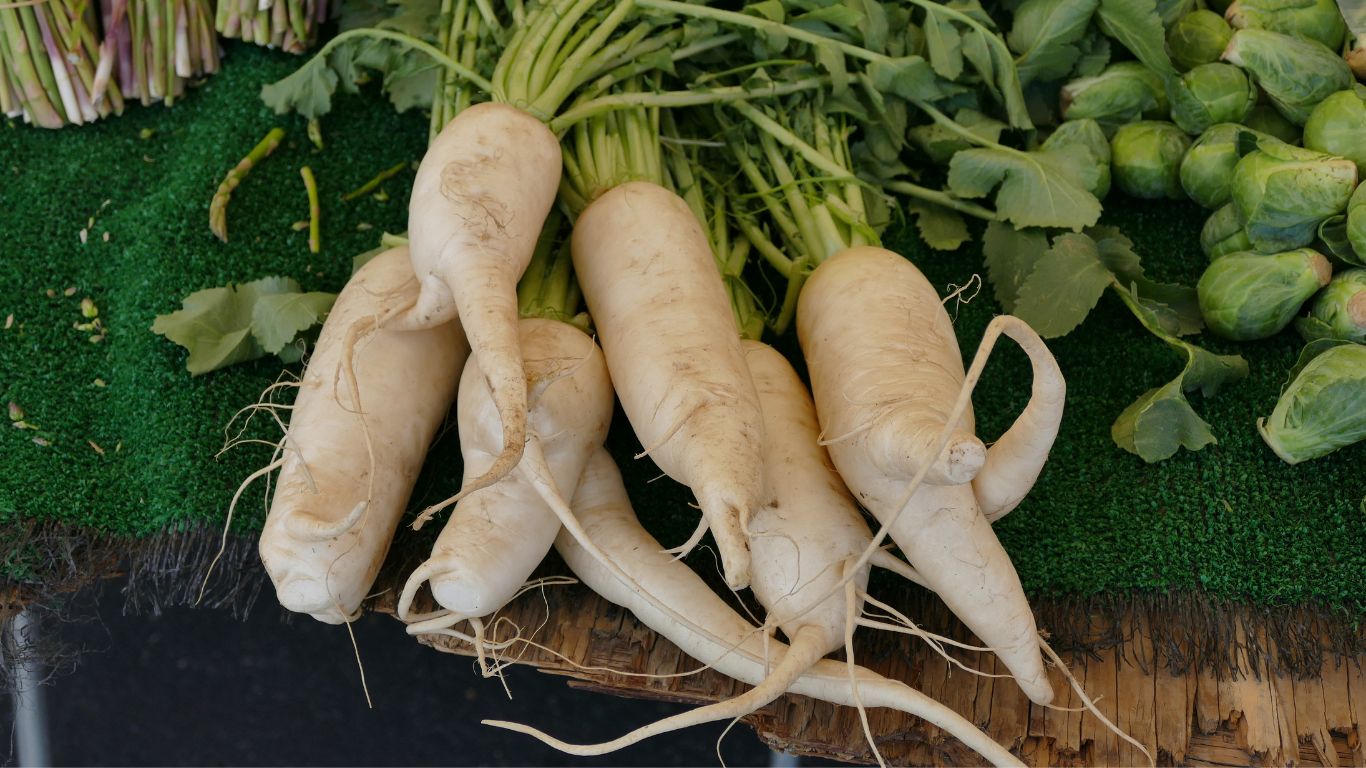
Parsnips are a delicious root vegetable with a sweet, nutty flavor that becomes even more pronounced after frost. They’re perfect for cool climates and can remain in the ground through winter, making them a reliable crop for patient gardeners.
Quick Parsnip Facts
- Planting Time: Sow seeds directly in early spring as soon as the soil can be worked.
- Growing Conditions: Full sun, deep, well-draining soil with a pH of 6.0–7.0.
- Maturity Time: 120–180 days.
- Nutritional Highlights: Rich in fiber, vitamins C and K, folate, and potassium.
- Harvest Tip: Leave in the ground after the first frost for improved sweetness.
Caring for Parsnips
Parsnips thrive in well-prepared soil and require consistent attention to grow strong, straight roots. Water deeply and regularly during root development and mulch to retain moisture and suppress weeds. Thin seedlings to 3–6 inches apart to allow proper root growth, and avoid high-nitrogen fertilizers to prevent forking. Keeping the area weed-free will ensure your plants don’t compete for nutrients.
Growing Tip
Parsnip seeds lose their viability quickly, so always use fresh seeds each year. Germination can take up to 3 weeks, so keep the soil consistently moist during this time. For an easy way to mark rows, plant radishes alongside parsnips—radishes germinate quickly and won’t interfere with parsnip growth.
Common Parsnip Problems
Here are some challenges you may face when growing parsnips and how to handle them:
|
Problem |
Symptoms |
Solution |
|
Canker |
Blackened or rotten areas on roots |
Rotate crops and avoid manured soil |
|
Carrot Fly |
Stunted plants, damaged roots |
Use row covers, plant resistant varieties |
|
Forked Roots |
Misshapen roots |
Remove stones, avoid fresh manure |
|
Leaf Spot |
Yellow or brown spots on leaves |
Improve air circulation, use organic fungicides |
Eco-Friendly Practices
Parsnips thrive in gardens with sustainable practices. Companion planting with onions or garlic deters pests, while organic mulch retains moisture and suppresses weeds. Incorporate crop rotation and compost to enrich soil health and avoid soil-borne diseases. To conserve water, use drip irrigation or soaker hoses, and encourage beneficial insects by planting flowers nearby.
Parsnips are an excellent addition to any garden! Have you tried growing them? Share your tips and experiences with us using #YardenerTips!
Collard Greens
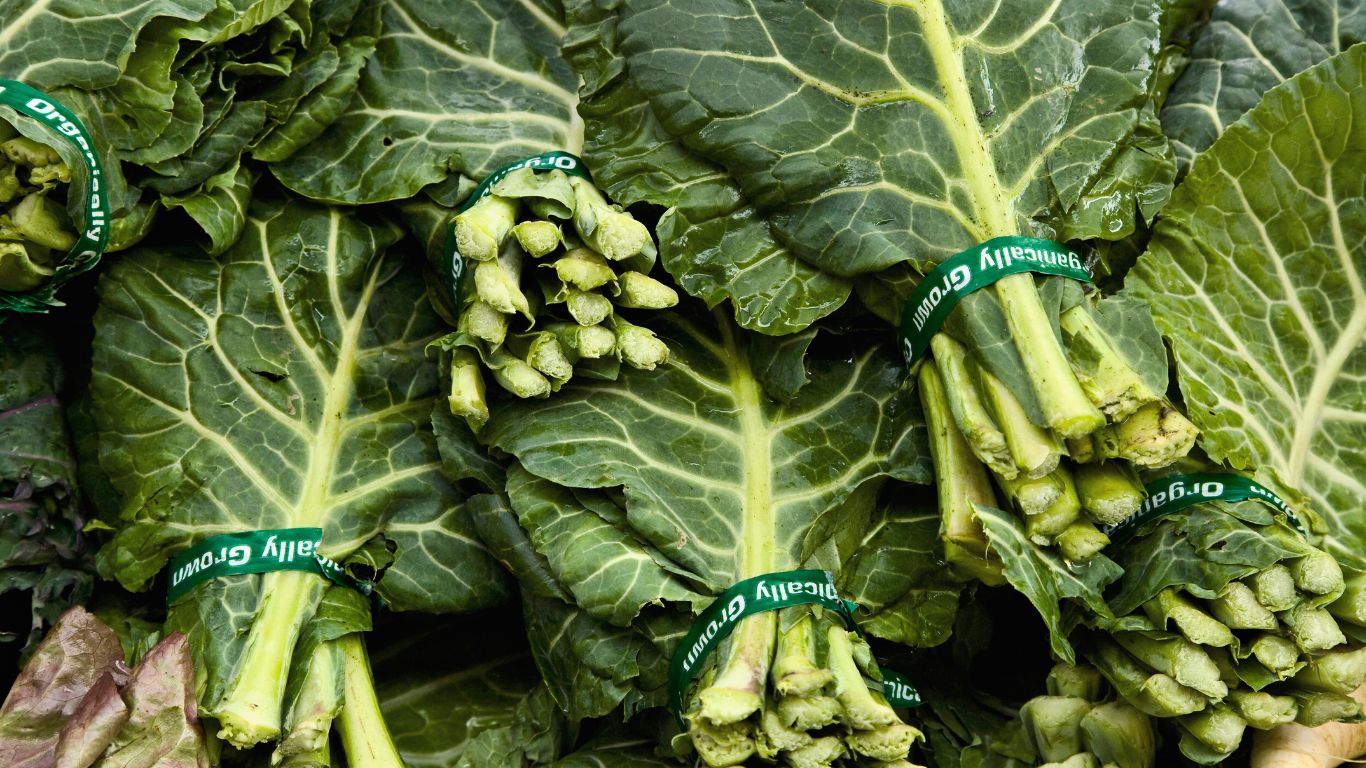
Collard greens are a versatile, nutrient-packed vegetable that thrives in various climates. Known for their robust flavor, collards are a gardener’s favorite for both spring and fall planting. Their tolerance to heat and frost makes them a reliable crop for year-round harvests.
Quick Collard Facts
- Planting Time: Sow seeds 2–4 weeks before the last spring frost or 6–8 weeks before the first fall frost.
- Growing Conditions: Cool temperatures are ideal, but collards tolerate heat better than other brassicas.
- Harvest Time: Harvest leaves when they are 8–12 inches long, starting with the outer leaves.
- Plant Size: Grows 2–3 feet tall and wide.
- Nutritional Benefits: Packed with vitamins A, C, K, calcium, and fiber.
Caring for Collards
Collards thrive in nutrient-rich soil with consistent moisture. Water deeply, providing 1–1.5 inches weekly, and use mulch to retain soil moisture and suppress weeds. Fertilize every 4–6 weeks with a balanced, nitrogen-rich fertilizer, and remove yellowing leaves to promote healthy growth. Regular harvesting of outer leaves encourages continued production.
Growing Tips
Collards prefer full sun to partial shade and grow best in well-draining soil enriched with organic matter. Use row covers to protect young plants from pests, and keep the soil consistently moist for optimal leaf production. Plant new seeds every 2–3 weeks for a continuous harvest.
Common Collard Problems
Collards are resilient but may face some challenges. Here’s how to tackle common issues:
|
Problem |
Symptoms |
Solution |
|
Cabbage Worms |
Holes in leaves |
Handpick worms or use Bacillus thuringiensis (Bt). |
|
Aphids |
Clusters of small insects on leaves |
Spray plants with water or introduce ladybugs. |
|
Clubroot |
Wilting plants and swollen roots |
Improve drainage, raise soil pH, and rotate crops. |
|
Downy Mildew |
Yellow spots and fuzzy growth |
Improve air circulation and apply organic fungicides. |
|
Flea Beetles |
Tiny holes in leaves |
Use row covers or diatomaceous earth around plants. |
Eco-Friendly Practices
Companion planting with herbs like mint or thyme helps deter pests naturally. Use organic mulch to conserve water and suppress weeds, and enrich the soil with compost from kitchen scraps. Encourage beneficial insects by planting flowers nearby, and rotate collards with non-brassica crops to maintain soil health.
Collard greens are a delicious and nutritious addition to any garden! What’s your favorite way to cook collards? Share your tips and photos with us using #YardenerTips!
Mustard Greens
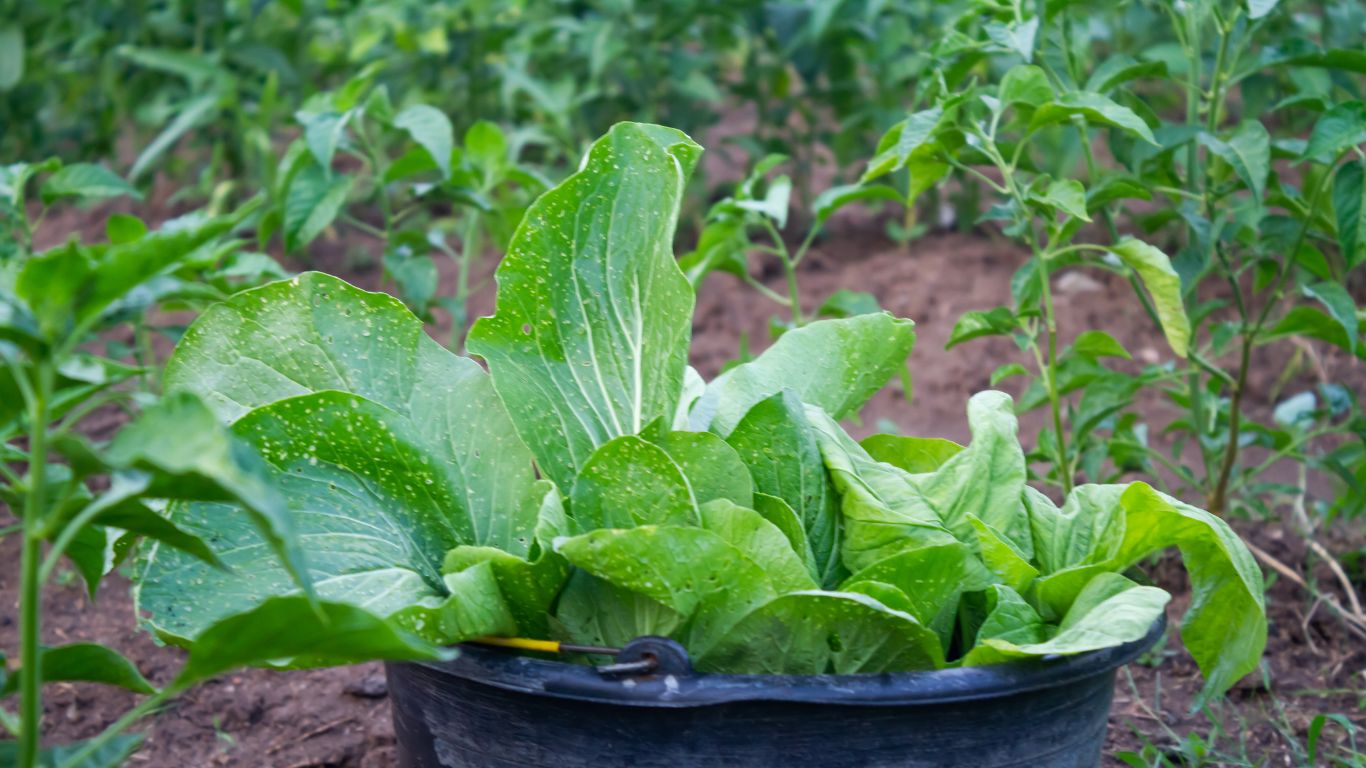
Mustard greens are fast-growing, nutritious leafy vegetables that bring a zesty, slightly spicy flavor to your garden and your table. Whether you're harvesting baby greens for fresh salads or mature leaves for cooked dishes, mustard greens are versatile, hardy, and rewarding to grow.
Quick Mustard Greens Facts
- Planting Time: Sow seeds in early spring or 4–6 weeks before the first frost for a fall crop.
- Growing Conditions: Cool temperatures are ideal, though mustard greens can tolerate some heat.
- Plant Height: Typically grows 1–2 feet tall and wide.
- Nutritional Benefits: Rich in vitamins A, C, and K, along with folate and fiber.
- Harvest Time: Leaves are ready to pick when they are 3–4 inches long for baby greens or 6–8 inches for mature greens.
Caring for Mustard Greens
Mustard greens thrive in rich, well-drained soil. Water consistently, providing about 1 inch of water per week, and mulch around plants to retain moisture and suppress weeds. Feed your plants with a balanced, nitrogen-rich fertilizer every 3–4 weeks to keep leaves lush and flavorful. Regularly remove damaged or yellowing leaves to promote healthy growth.
Mustard Greens Growing Tip
For a continuous harvest, sow seeds every 2–3 weeks during the growing season. Pinch off flower stalks to prevent bolting and extend the harvest period. Use row covers to protect young plants from pests and extend their growing season.
Common Mustard Greens Problems
Even hardy greens like mustard can face challenges. Here’s how to tackle common issues:
|
Problem |
Symptoms |
Solution |
|
Flea Beetles |
Small holes in leaves |
Use row covers or sprinkle diatomaceous earth. |
|
Aphids |
Clusters of tiny insects on leaves |
Spray with water or introduce natural predators like ladybugs. |
|
Downy Mildew |
Yellow patches and moldy growth |
Improve air circulation and apply organic fungicides. |
|
Bolting |
Premature flowering |
Plant heat-resistant varieties and provide partial shade in hot weather. |
Eco-Friendly Practices
Grow mustard greens alongside herbs like dill or cilantro to naturally deter pests. Use compost made from kitchen scraps to enrich your soil and drip irrigation to conserve water. Rotate crops with non-brassica plants to prevent soil-borne diseases, and plant flowers nearby to attract beneficial insects.
Mustard greens are a flavorful, nutrient-packed addition to any garden. What’s your favorite way to enjoy them? Share your gardening journey with us using #YardenerTips!
How to Prepare for February Seeding
February is the perfect time to kick-start your garden! Here’s a quick guide to ensure success:
- Soil Preparation: For indoor seeds, use a sterile seed-starting mix to prevent pests and diseases. Outdoors, enrich your soil with compost or aged manure and loosen the topsoil for better root growth. Aim for a soil pH of 6.0–7.5.
- Tools and Supplies: Gather essentials like seed trays, grow lights, and a watering can. Outdoors, cold frames and row covers can protect seeds from frost. Repurpose items like egg cartons for eco-friendly seed trays!
- Timing and Climate: Check your USDA zone to plan seeding. Start long-season crops like tomatoes indoors, while cold-hardy greens like spinach can go directly outdoors if the soil is workable.
- Care Tips: Water seeds regularly, keeping the soil moist but not soggy. Thin overcrowded seedlings for better growth, and protect young plants from pests with row covers or organic solutions.
Final Thoughts
February is all about planning and preparation, setting the stage for a bountiful garden season ahead.
With a little effort now, you’ll be rewarded with thriving plants and a garden full of life in the months to come.

