
Microgreens have gained popularity in recent years, and it's no surprise why. These tiny, nutrient-packed greens are not only delicious but also incredibly easy to grow indoors. Whether you have a green thumb or are a novice gardener, growing microgreens is a fantastic way to bring fresh, healthy produce to your table. In this article, we will guide you through the process of growing microgreens indoors, from choosing the right seeds to harvesting your homegrown greens. So, let's get started and explore the wonderful world of indoor microgreen gardening!
Introduction to Microgreens
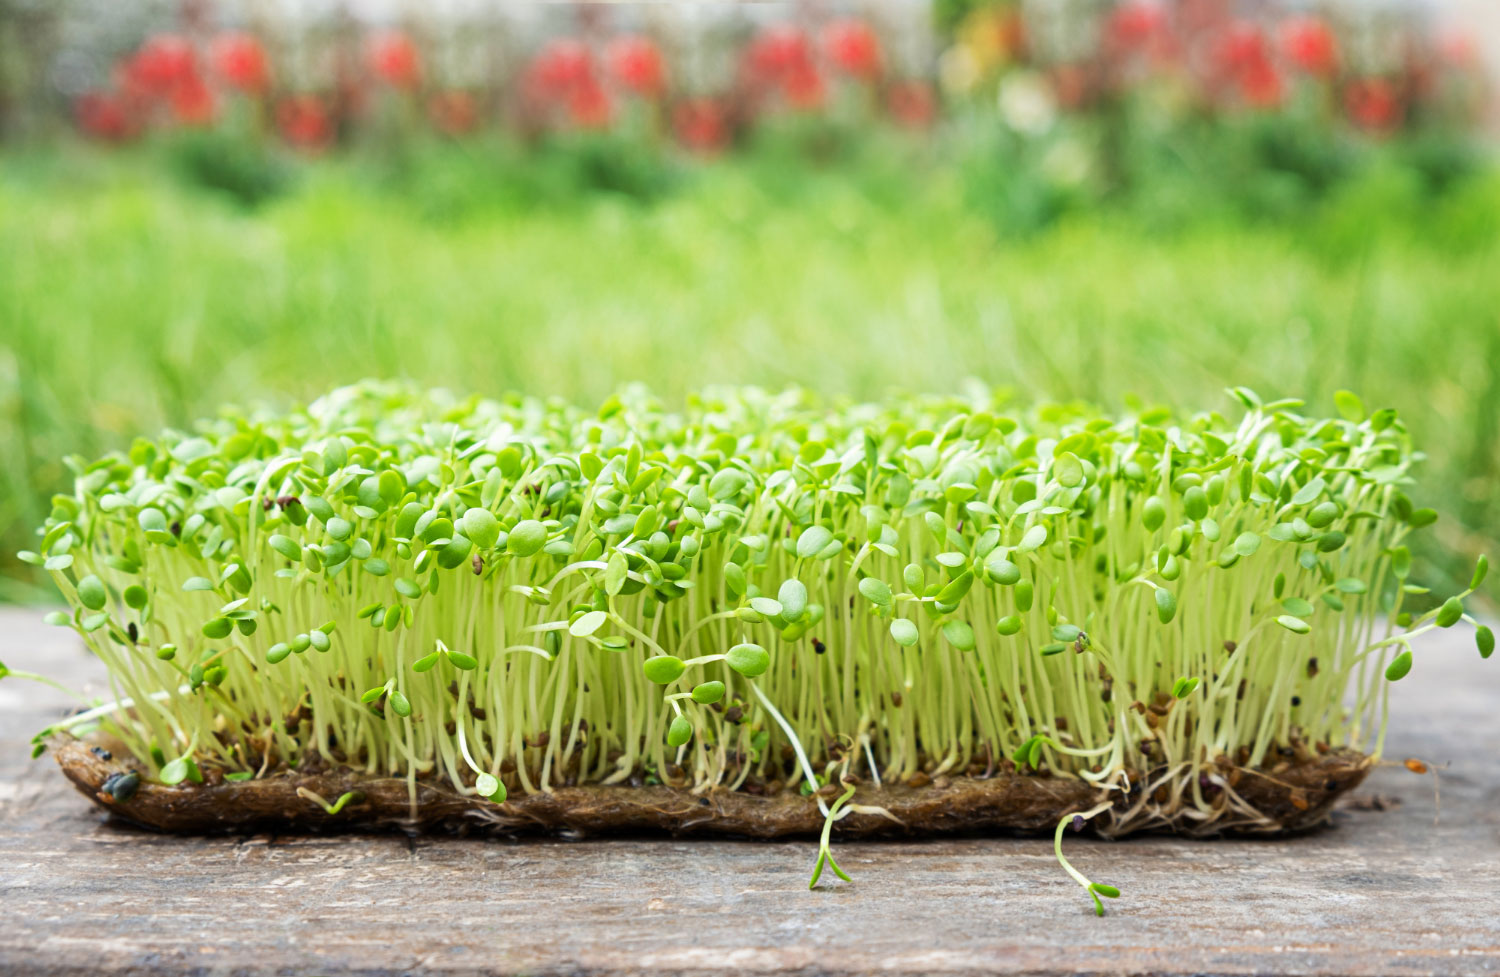
Microgreens are the young shoots of various vegetables and herbs. They are harvested when they are just a few inches tall, usually within one to three weeks of germination. Despite their small size, microgreens are packed with flavor and nutrients, making them a popular choice for culinary enthusiasts and health-conscious individuals alike.
The benefits of growing microgreens are numerous. Firstly, they are incredibly easy to grow indoors, requiring minimal space and resources. Secondly, microgreens are an excellent source of vitamins, minerals, and antioxidants, making them a healthy addition to any meal. Lastly, growing microgreens can be a fun and rewarding hobby, allowing you to enjoy the satisfaction of growing your own food.
Getting Started with Indoor Microgreen Gardening
Before you start growing microgreens indoors, there are a few key considerations to keep in mind. Firstly, you'll need to decide on the microgreens you want to grow. Some popular options include kale, broccoli, radish, and sunflower. Each microgreen variety has its own unique flavor profile and nutritional benefits, so choose the ones that appeal to your taste buds and dietary needs.
Next, you'll need to gather the necessary supplies. This includes seeds, growing trays or containers, potting soil, and a light source. When selecting seeds, opt for organic, untreated varieties to ensure the best results. As for the containers, shallow trays or recycled plastic containers with drainage holes work well for growing microgreens. Additionally, invest in a full-spectrum grow light or place your trays near a sunny window to provide sufficient light for your greens.
Selecting the Right Microgreens to Grow
With a wide variety of microgreens to choose from, it can be overwhelming to decide which ones to grow. To help you narrow down your options, here are some of the top microgreens you can easily grow indoors:
These microgreens are known for their delicious flavors and nutrient-rich profiles. Experiment with different combinations to create your own unique microgreen mixes and add a burst of freshness to your culinary creations.
Growing Microgreens from Seed
Now that you've selected your microgreens, it's time to start growing them from seed. Here's a step-by-step guide to help you get started:
- Soak the seeds in water for a few hours or overnight to promote germination.
- Fill your growing trays or containers with a thin layer of moist potting soil.
- Sprinkle the soaked seeds evenly over the soil surface, ensuring they are not too crowded.
- Gently press the seeds into the soil to ensure good seed-to-soil contact.
- Cover the trays with a clear plastic lid or wrap them in plastic wrap to create a mini greenhouse effect.
- Place the trays in a warm location away from direct sunlight until the seeds germinate.
- Once the seeds have germinated, remove the cover and move the trays to a well-lit area or under the grow light.
- Water the microgreens regularly, keeping the soil moist but not waterlogged.
- In about one to three weeks, your microgreens will be ready for harvest.
By following these steps, you'll be well on your way to enjoying a bountiful harvest of fresh microgreens in no time.
Choosing the Right Containers and Soil for Indoor Microgreen Gardening
When it comes to growing microgreens indoors, choosing the right containers and soil is crucial for their success. Here are some tips to help you make the best choices:
Containers: Shallow trays or recycled plastic containers work well for growing microgreens. Make sure they have drainage holes to prevent waterlogging and promote healthy root growth. You can also use seedling trays or even repurpose old baking trays or food containers.
Soil: Microgreens thrive in lightweight, well-draining potting soil. Avoid using garden soil, as it may contain pests or pathogens that can harm your microgreens. Look for a quality potting mix that is specifically formulated for seed starting or microgreen production.
Caring for Your Indoor Microgreens
Proper care is essential for the healthy growth of your indoor microgreens. Here are some key aspects to consider:
Watering: Microgreens require regular watering to keep the soil moist. Use a spray bottle or a gentle watering can to avoid dislodging the delicate shoots. Water from the bottom by placing the trays in a shallow dish filled with water and allowing the soil to soak up moisture.
Lighting: Microgreens need sufficient light to grow and develop their vibrant green leaves. If you don't have access to natural sunlight, invest in a full-spectrum grow light. Position the light source a few inches above the trays, adjusting the height as the microgreens grow taller.
Temperature and Humidity: Most microgreens prefer temperatures between 60 to 75°F (15 to 24°C). Maintain moderate humidity levels by misting the trays occasionally or using a humidity dome to retain moisture.
Harvesting and Using Your Homegrown Microgreens
One of the best parts of growing microgreens is the joy of harvesting and using them in your favorite dishes. Here's how to harvest your microgreens:
- When the microgreens have reached the desired height of about 1 to 3 inches, it's time to harvest.
- Use a pair of clean scissors or a sharp knife to cut the microgreens just above the soil level.
- Rinse the harvested microgreens gently under cool water to remove any soil particles.
- Pat them dry using a clean kitchen towel or paper towel.
- Your fresh microgreens are now ready to be used in salads, sandwiches, soups, smoothies, and more.
Remember to harvest only what you need and leave the rest to continue growing. This way, you can enjoy a continuous supply of homegrown microgreens throughout the growing season.
Common Problems and Troubleshooting Tips for Indoor Microgreen Gardening
While growing microgreens indoors is relatively easy, you may encounter some common problems along the way. Here are a few troubleshooting tips to help you overcome these challenges:
- Mold or Fungus: Ensure proper air circulation by spacing out your trays and avoiding overwatering. If mold or fungus develops, remove the affected plants and increase ventilation.
- Leggy Growth: Leggy or stretched-out microgreens indicate insufficient light. Adjust the height of your grow light or consider investing in a more powerful light source.
- Pests: Keep an eye out for pests such as aphids or fungus gnats. If you spot any, remove them manually or use organic pest control methods.
- Overcrowding: Avoid sowing too many seeds in one tray, as overcrowding can lead to competition for resources and poor growth. Thin out the seedlings if necessary to promote healthy development.
By addressing these common issues promptly, you can ensure the success of your indoor microgreen garden.
Resources for Further Indoor Microgreen Gardening Information
If you're eager to learn more about indoor microgreen gardening, here are some valuable resources to explore:
- Online communities and forums: Join online gardening communities to connect with fellow microgreen enthusiasts. Share your experiences, ask questions, and learn from others' insights. You can also join this subreddit: Everything Microgreens
- Books and eBooks: There are numerous books and eBooks available on the topic of microgreens. Some popular titles include "Microgreens: A Guide to Growing Nutrient-Packed Greens" by Eric Franks and Jasmine Richardson
- YouTube tutorials: YouTube is a treasure trove of informative videos on microgreen gardening. Search for tutorials by experienced growers to gain practical tips and tricks.
Conclusion
Growing microgreens indoors is a rewarding and accessible way to bring fresh, healthy produce to your table. By following the steps outlined in this article, you can successfully grow a wide variety of microgreens in the comfort of your own home. Experiment with different flavors, get creative in the kitchen and enjoy the satisfaction of knowing that you're nourishing your body with homegrown goodness. So, what are you waiting for? Start your indoor microgreen garden today and experience the joys of gardening firsthand!
Have a gardening question you can't answer? Send us your questions, and our team of experts will be happy to help you.
Happy gardening!
